My First Attempt with Dry Point Etching
I did this quick and without the proper tools, just to see if I enjoyed it, and if it’s worth looking into the ‘right’ way. So, the important thing is that I learnt that I love dry point. Here’s how I came to that conclusion.
The Process
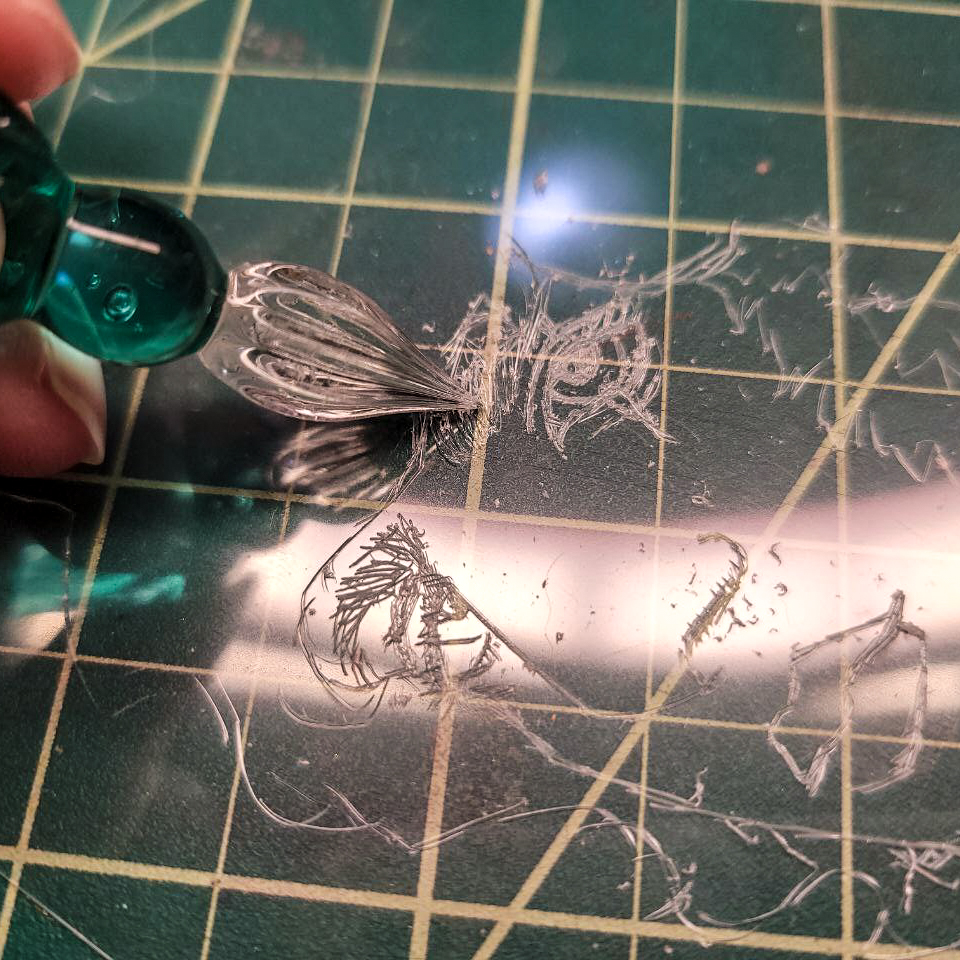
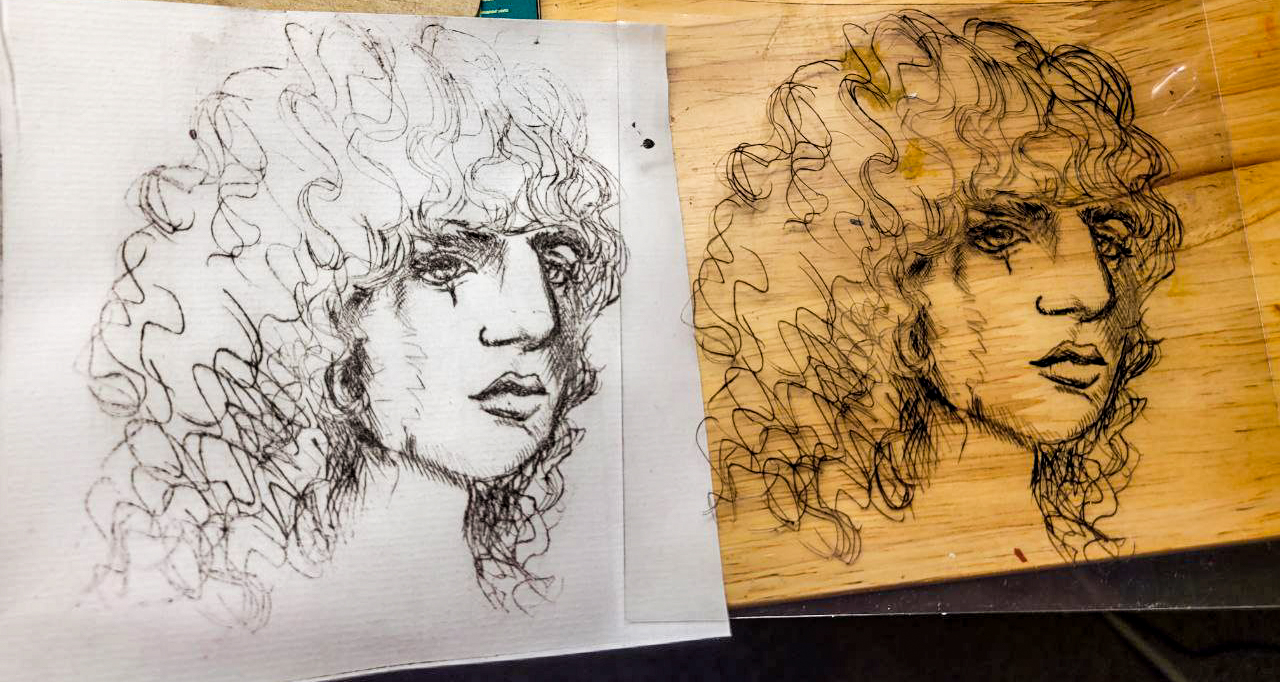
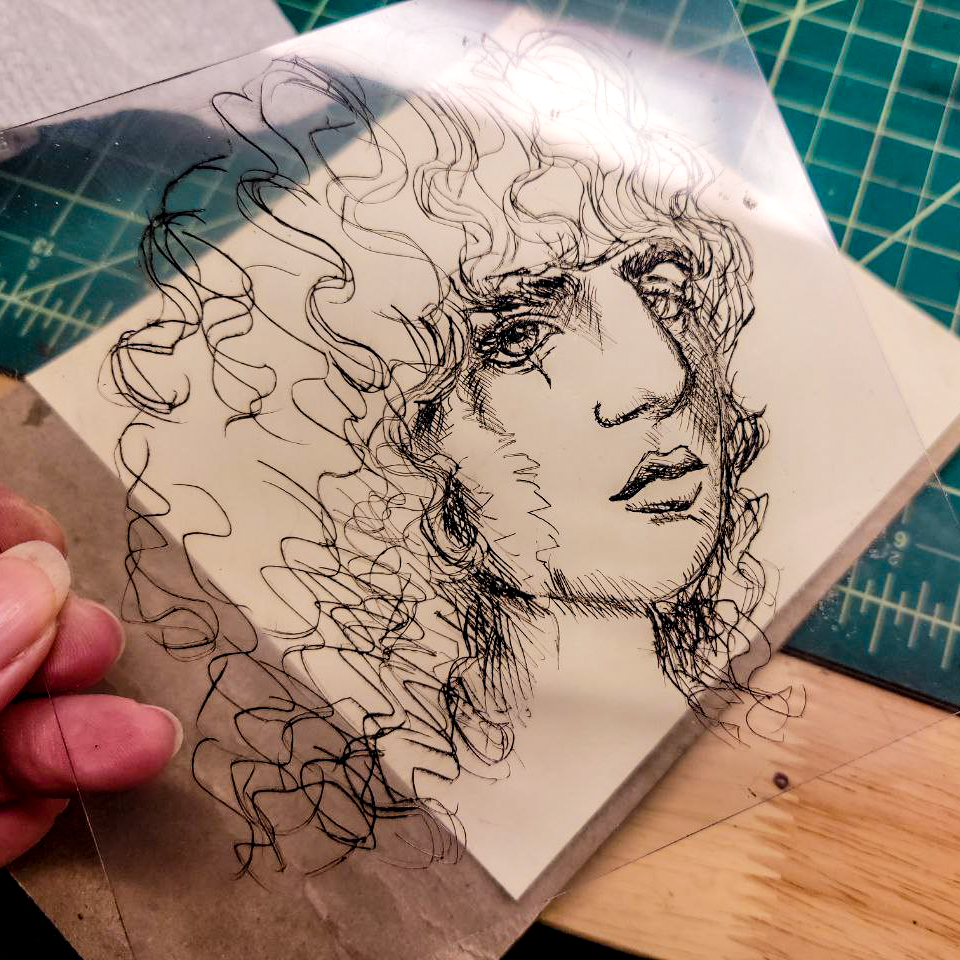
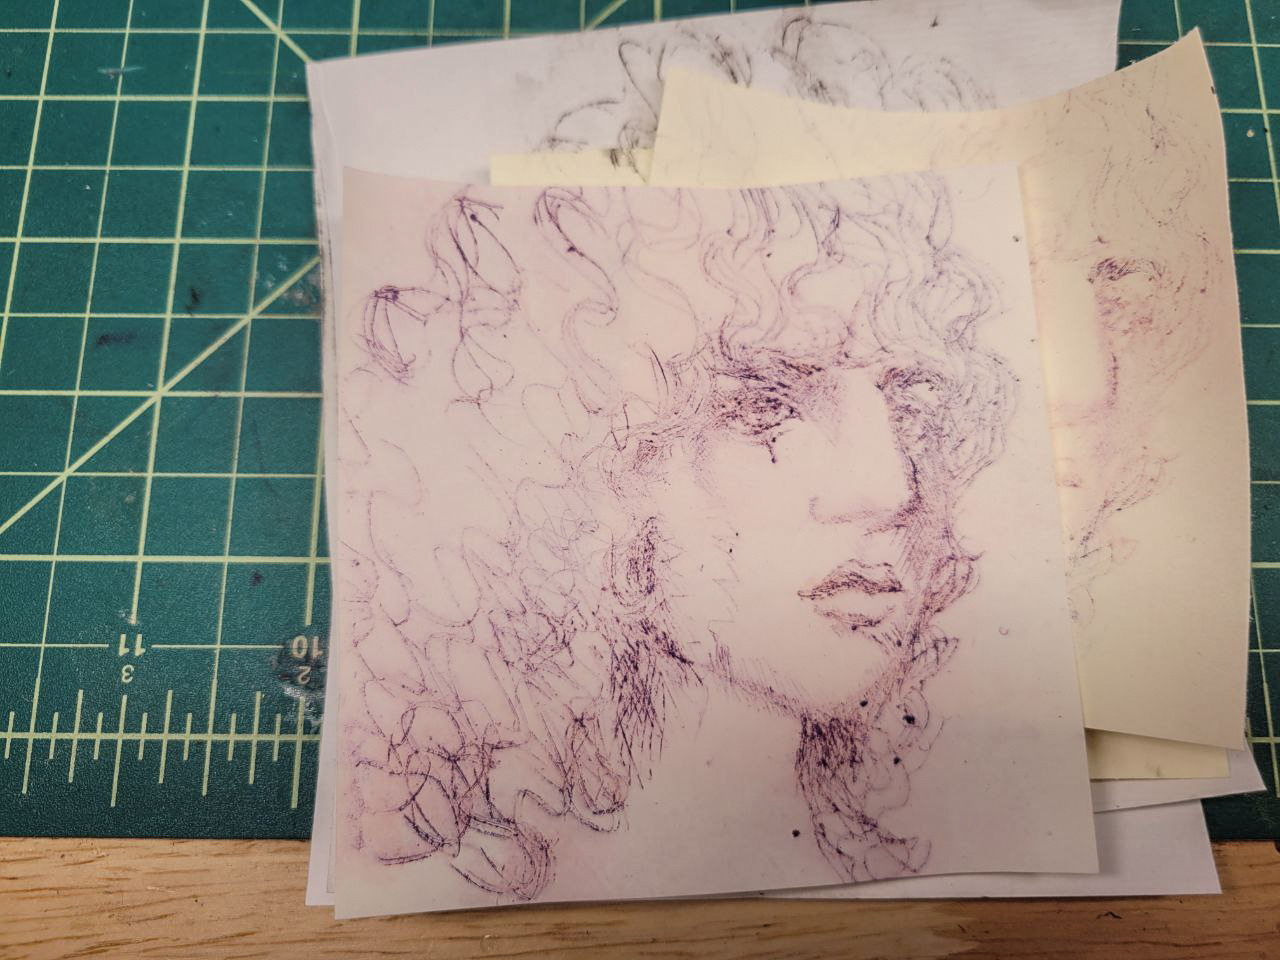
I had a bit of craft plastic and a broken glass dip pen, so I worked with what I had and did a quick sketch. I honestly did not expect it to work.
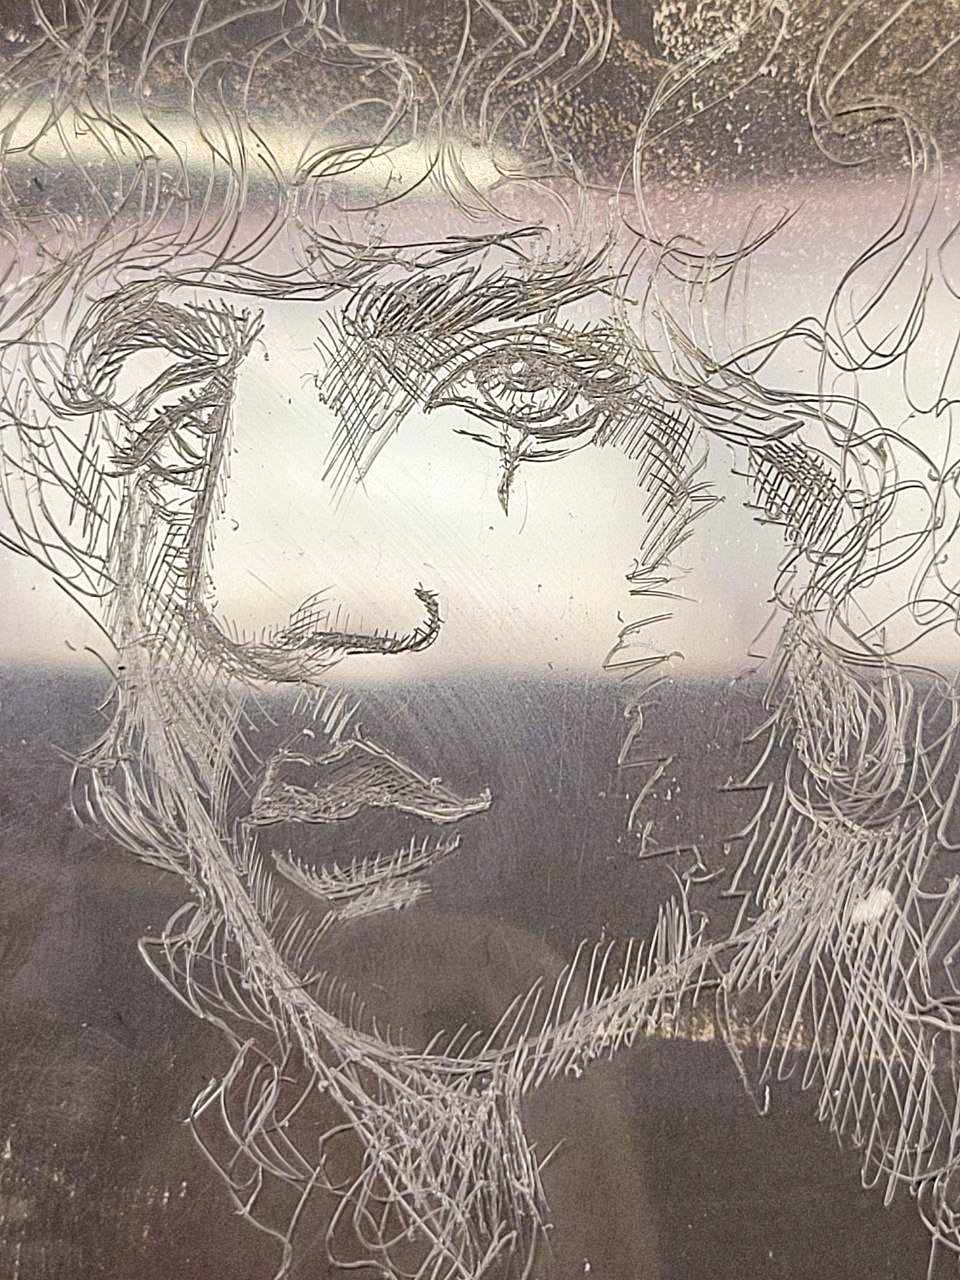
This is actually my second attempt, if I’m going to be perfectly honest, because the first time I did this, I thought I was inventing a new technique where I push hard on the plastic and the other side of it becomes the printed side. It kind of worked, but then I remembered etching has already been invented, but it must be done in reverse. So I had to start over and draw Mort backwards.
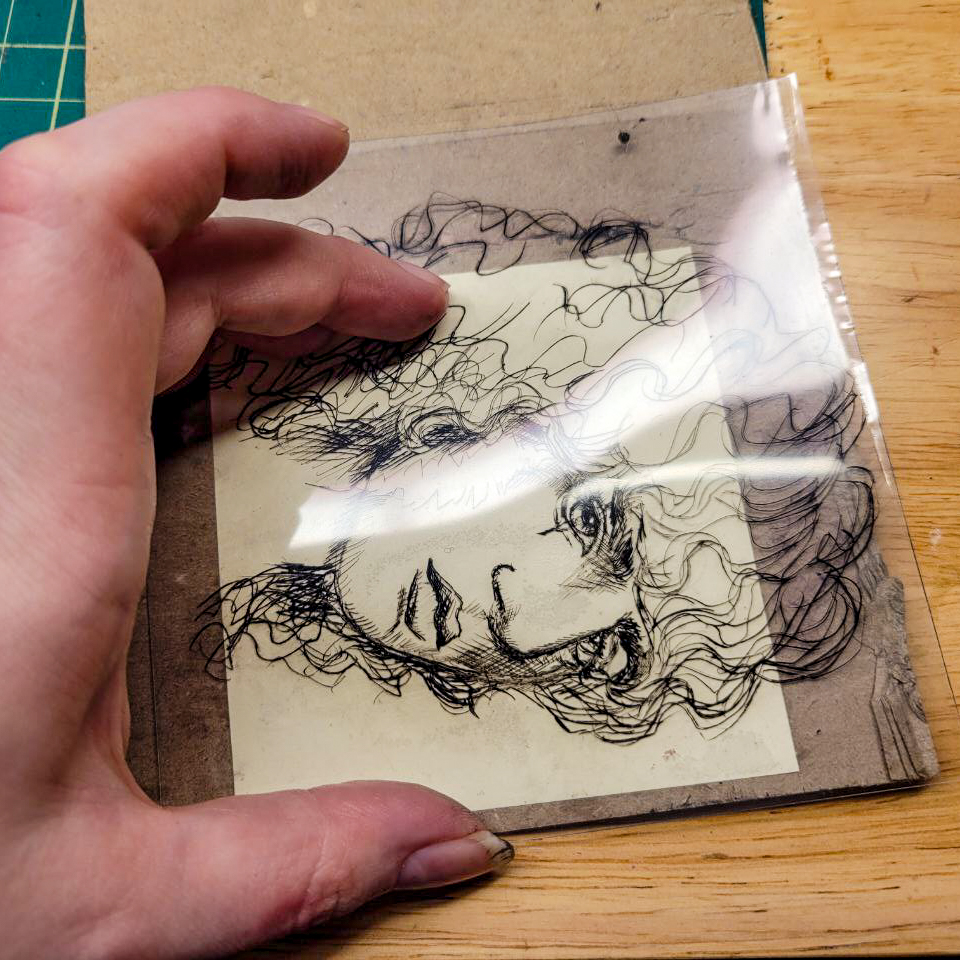
Once again, I used what I had and put some Speedball block printing ink onto the etched side, wiping the excess with a bit of cloth. I also experimented with stamping ink (Ranger Distress Archival). The results were alright. I think etching ink would work better, though. Since, you know, it’s specifically made for such things.
I used three types of paper, but mostly Neenah Classic Crest in Baronial Ivory. I just love the look of that paper. I also used a bit of Midori MD from a pad and Canson Ingres paper. I have printmaking paper, but, well, as I said, I didn’t expect this to work at all so I didn’t want to cut it. I did wet the paper with a spray bottle on both sides and let it get to the ‘damp’ stage before putting the plate over it (most of the time).
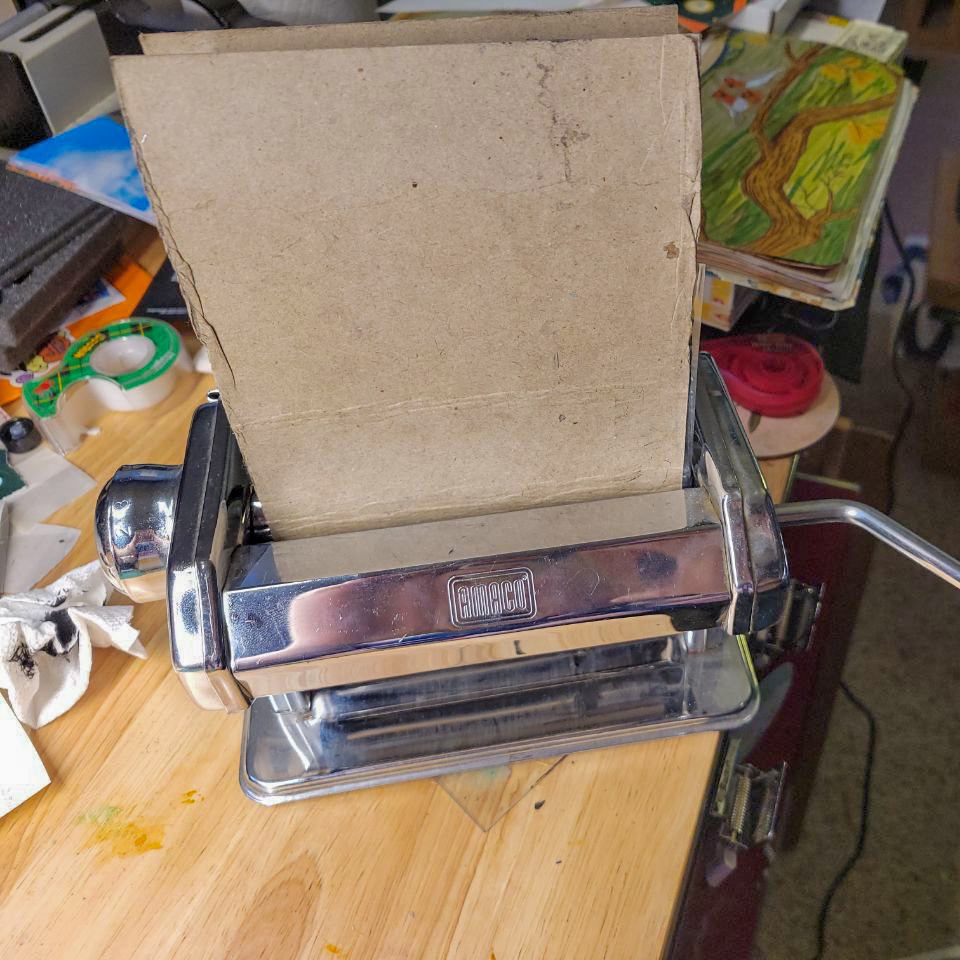
This is a clay roller from decades ago when I thought polymer clay was fun. I swear, I’ve used this thing for everything but clay. It comes in handy. I used bookboard as something stable to press against and, as is visible in the image, the bookboard did not faire well throughout the experiment. It fell apart, crumbled, an eventually split. These were terrible tools for this, and I do not recommend trying it. The clearance beneath the clay roller is only like three inches, and so you either bend the whole thing to get it out or reverse it back up, only pressing three inches. I made it work, but a spoon would have been better.
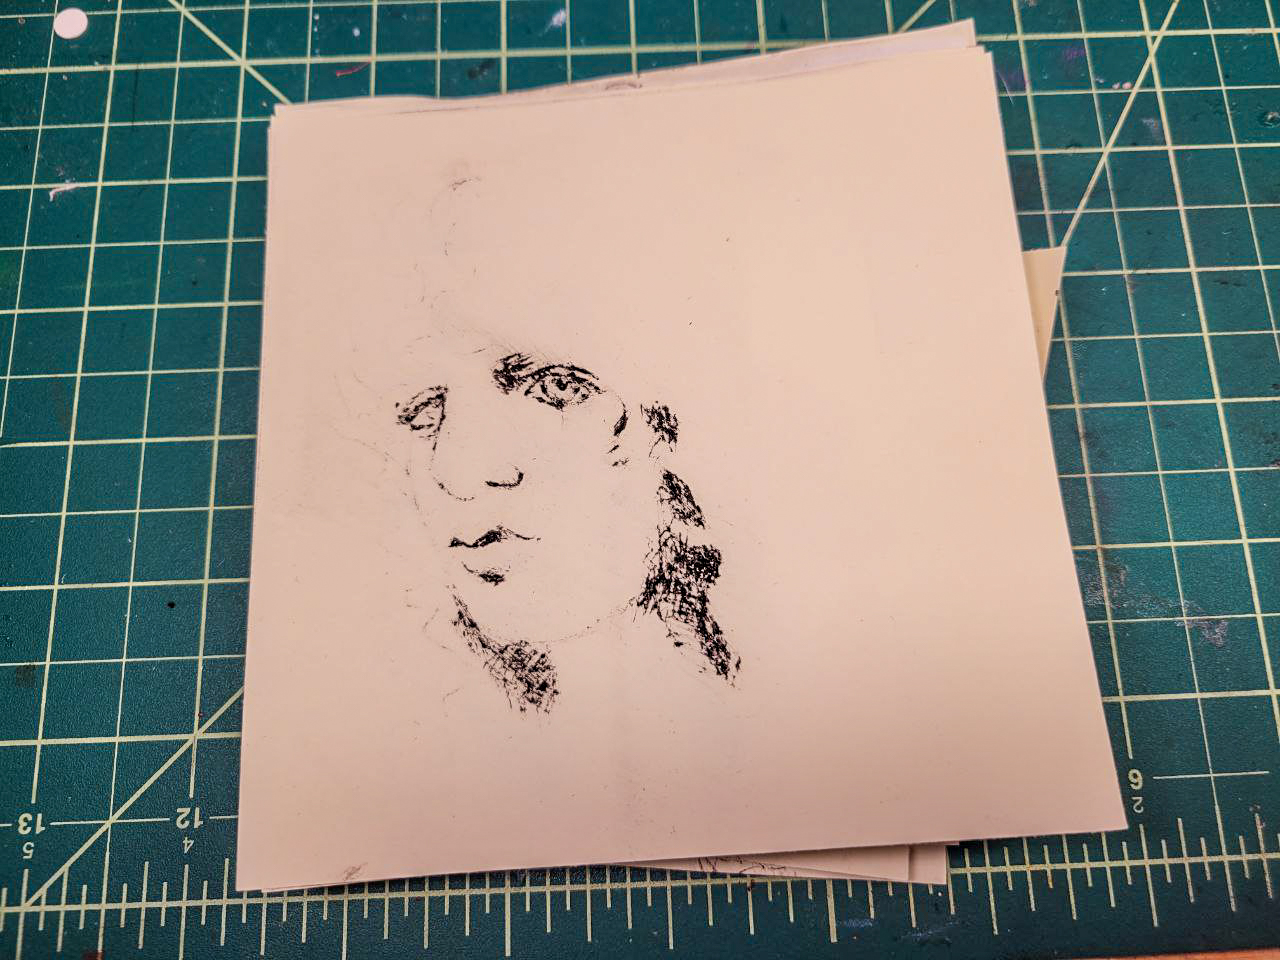
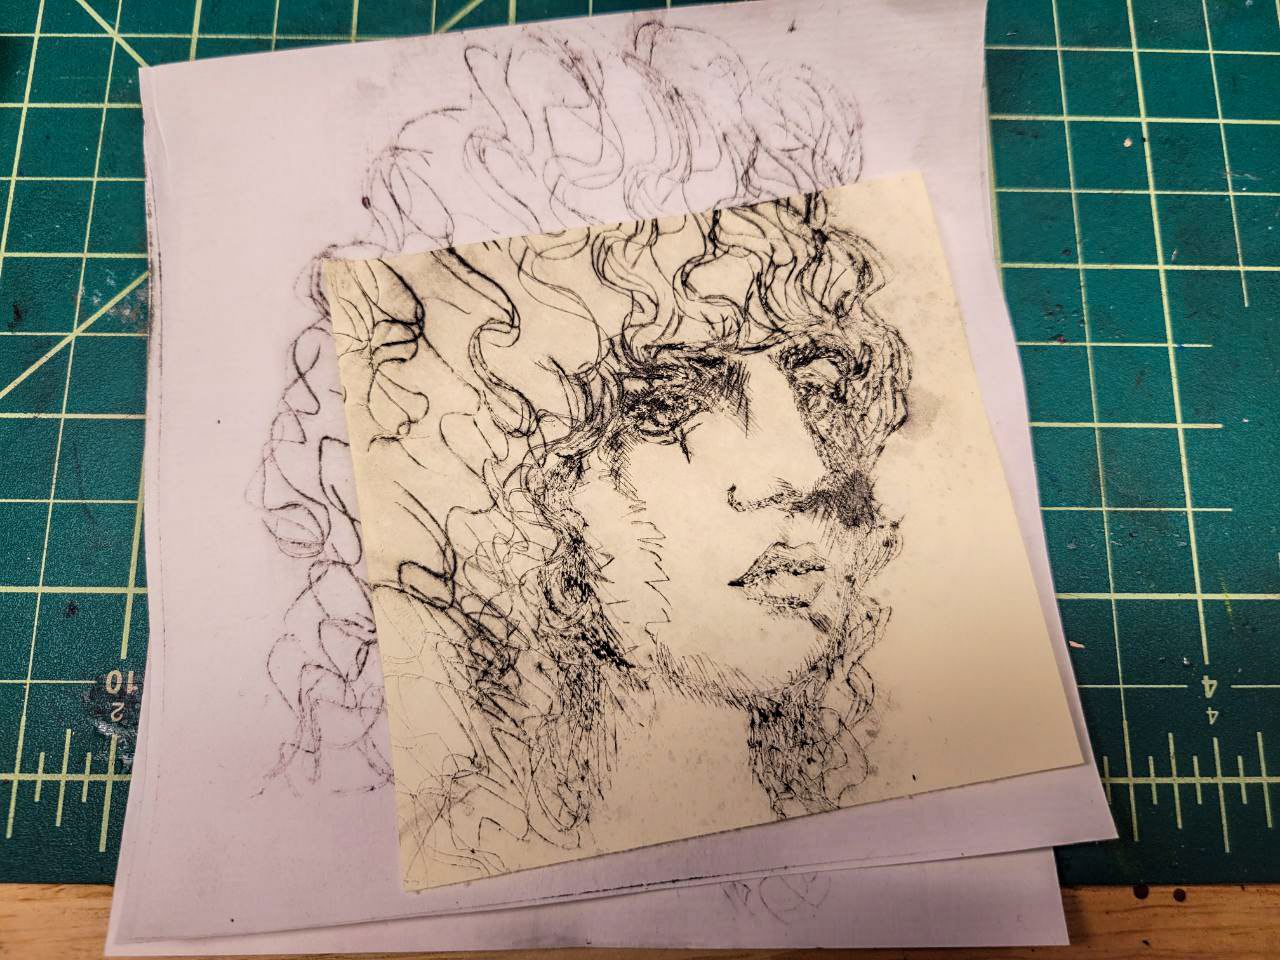
So, in the end, I created a small pile of Morts. The first tests I did were with the “wrong” plate which I’d etched not in reverse (the scar is supposed to be on the right side of his face), but I think they came out better, funnily enough.

The Adjustments I Made Along the Way
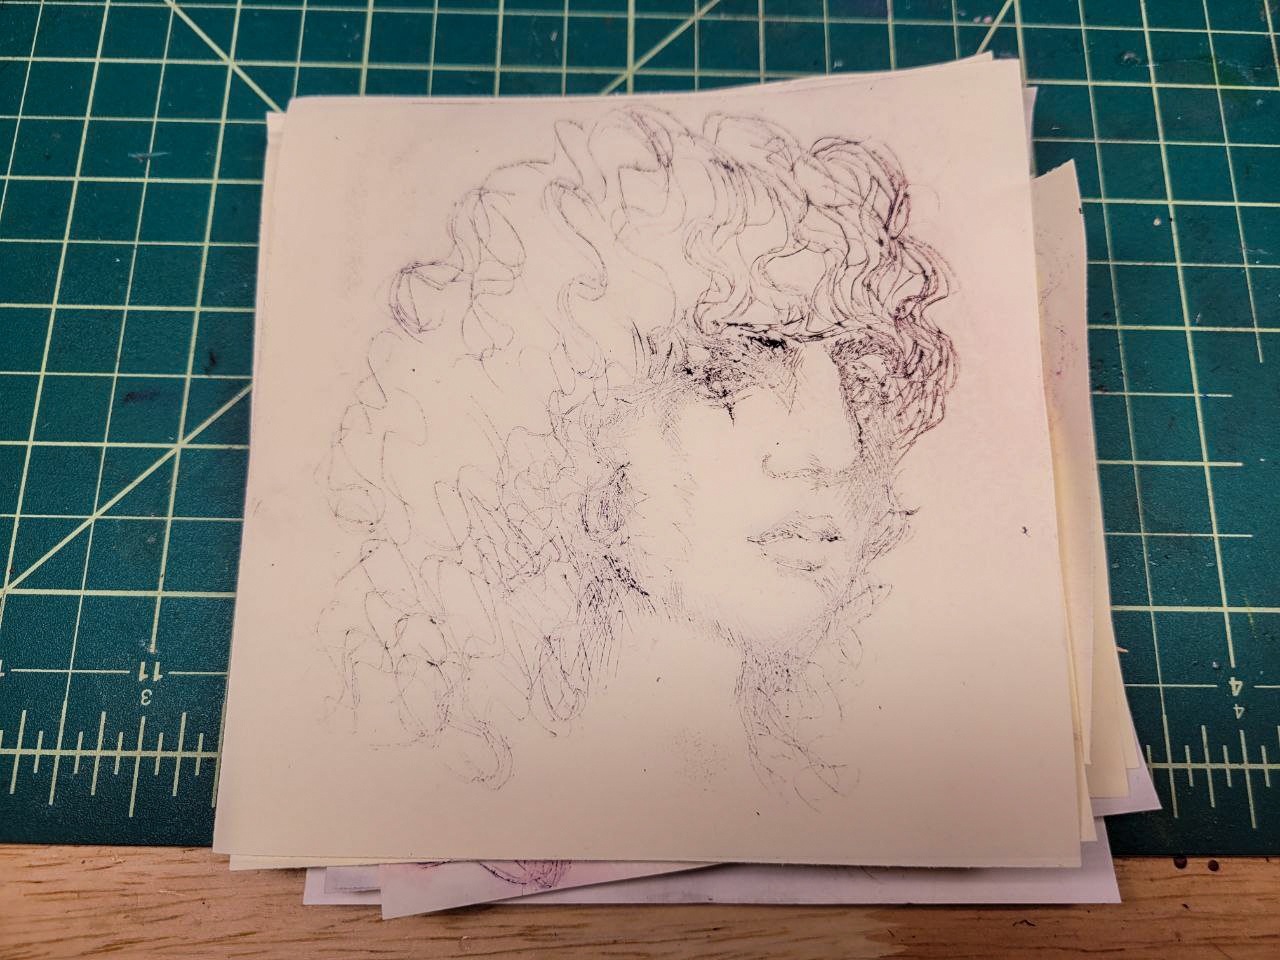
I did this dry. No wetting the paper, and barely using any ink. I also pressed this with a bamboo barren instead of the clay roller. I didn’t use the barren like a barren, I used the edge of it (a spoon, again, would have been better). Neenah Paper.
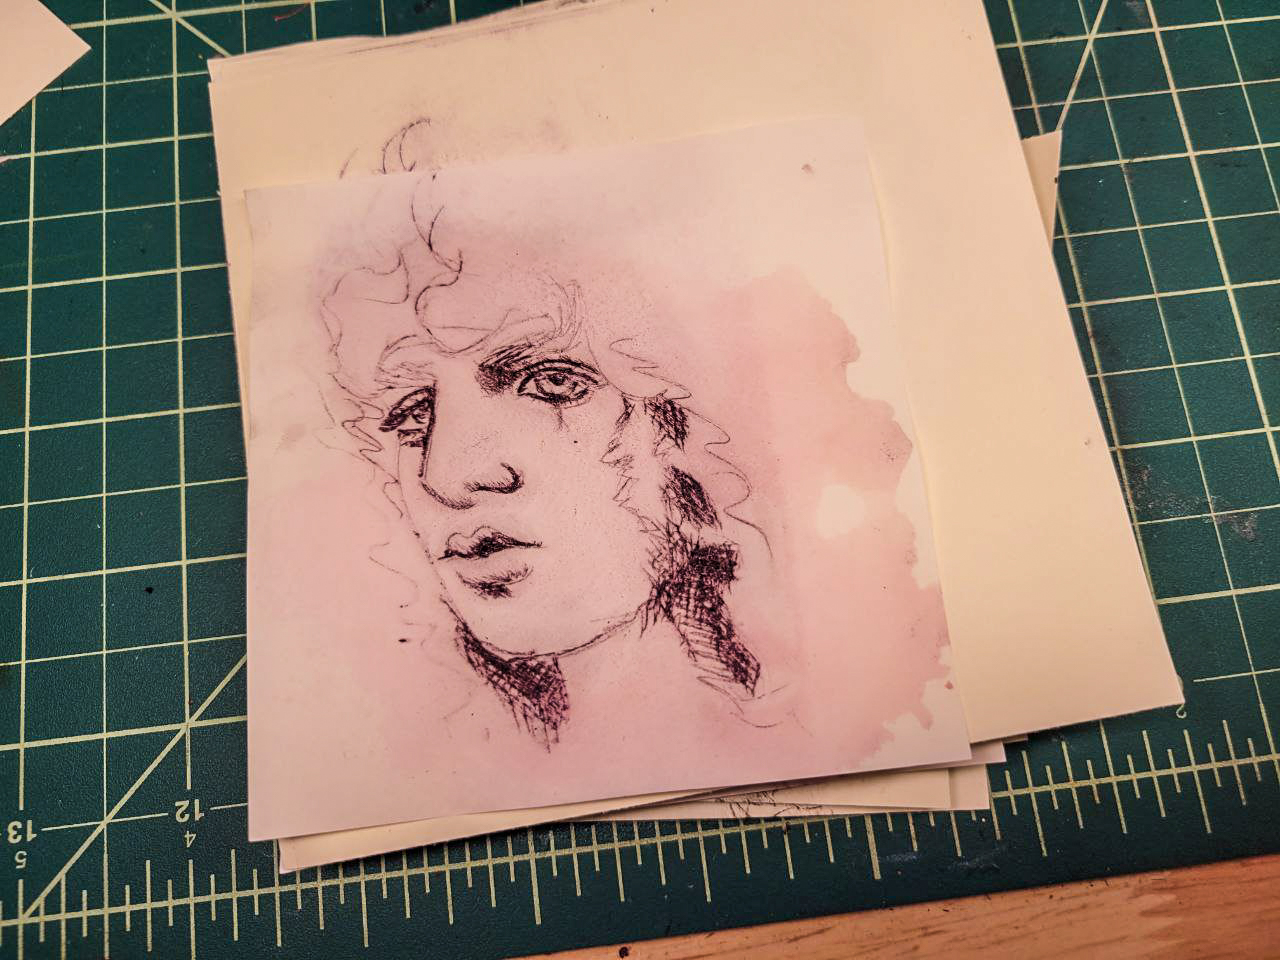
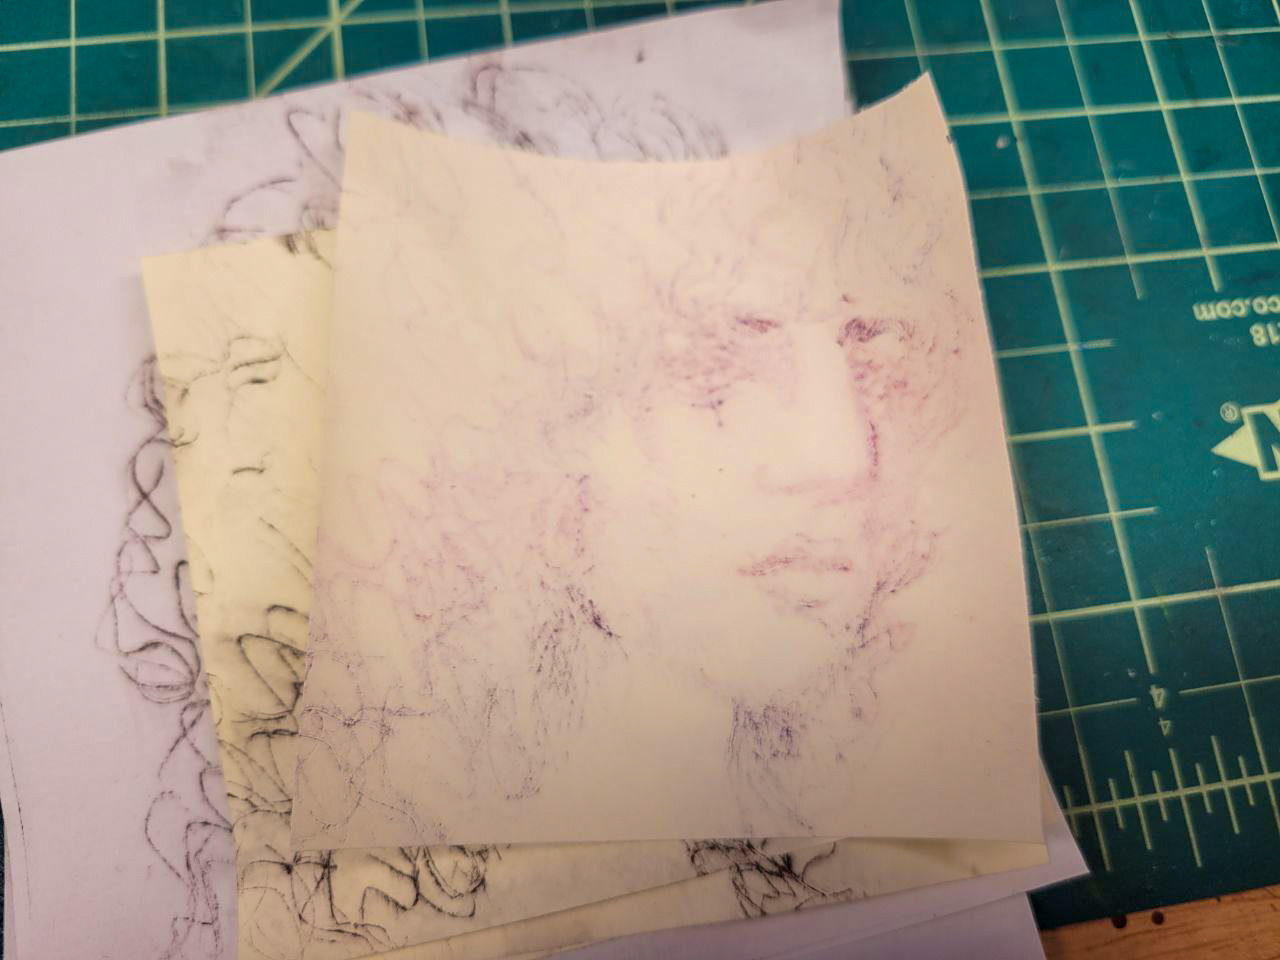
I wet the paper this time, and I put stamp ink on the plate. I like this one very much. The water activated everything. Trying to replicate this effect was not easy, as we will see. Midori MD Paper.

More stamp ink, and I didn’t wipe it away well enough. I also didn’t wet the paper because I thought “oh, the wet from the previous press should be enough. I mean, it almost was. Neenah Paper.
More stamp ink, this time on wet paper. There’s still a bleed of the purple ink, but I like it! This one I call a success. Neenah Paper.

This one I did without adding anything from the print before. I wanted to see if you could get multiples out of one inking. You can’t really. Neenah Paper.
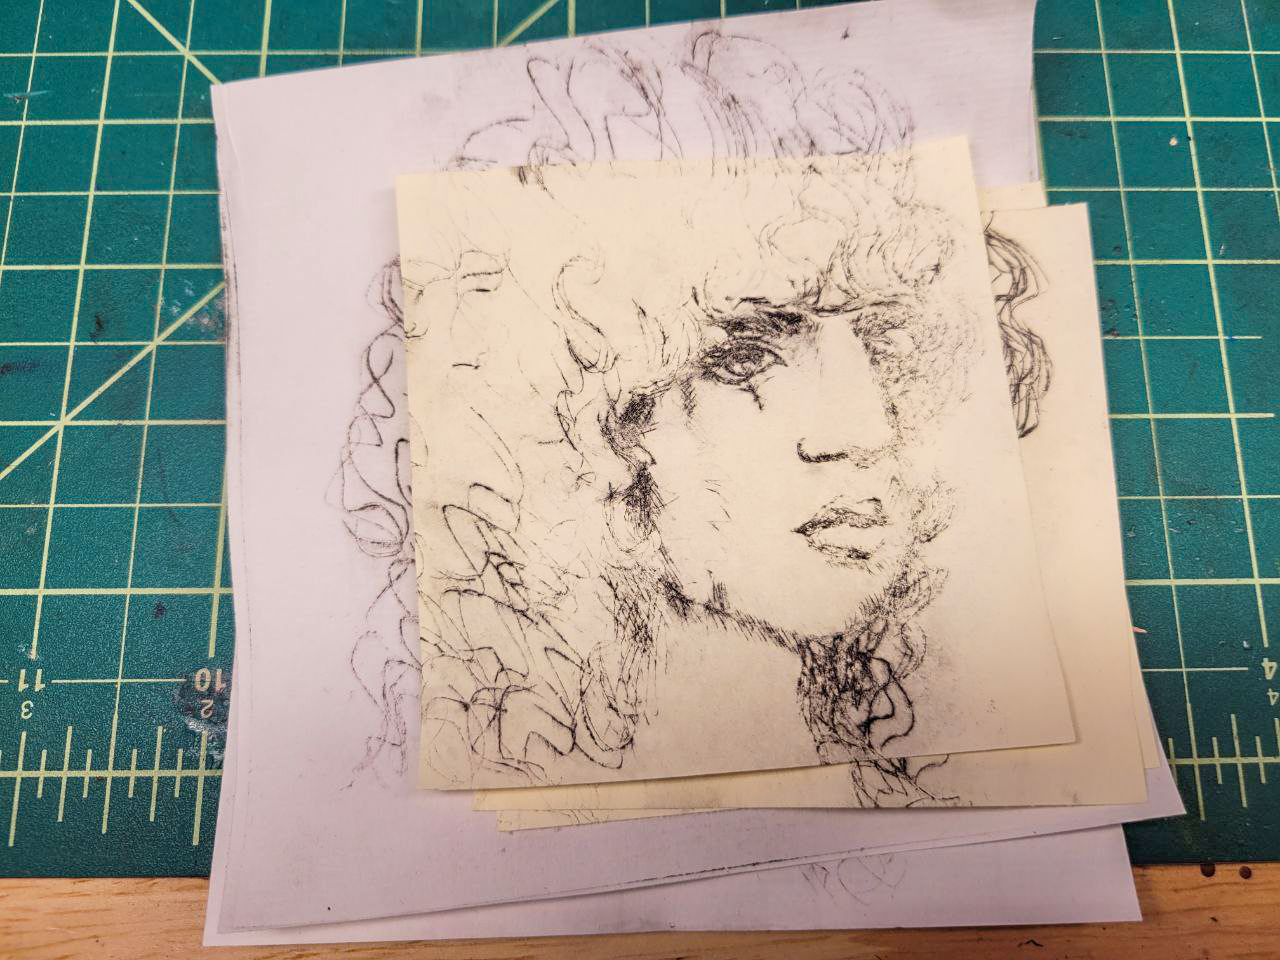
Instead of waiting until I had proper etching ink, which is a thing I decided would be best for all future attempts, I just went for it with the properly oriented plate. Two issues: 1. not enough ink, 2. I used a paper towel instead of a cloth. I fixed that by the next print. Canson Ingres Paper.
More ink, used a t-shirt to wipe the plate, but I didn’t align it properly in the clay roller and the whole thing got jammed. The plate was permanently bent from this moment forward. Canson Ingres Paper.
Put the stamp ink on for this one. The bookboard was soggy and warping and damaged by this point, and it’s starting to show I think. Midori MD Paper.
This time I got the paper really wet to see if it would do the cool thing again like print 2. It didn’t. This one sucks. Neenah Paper.
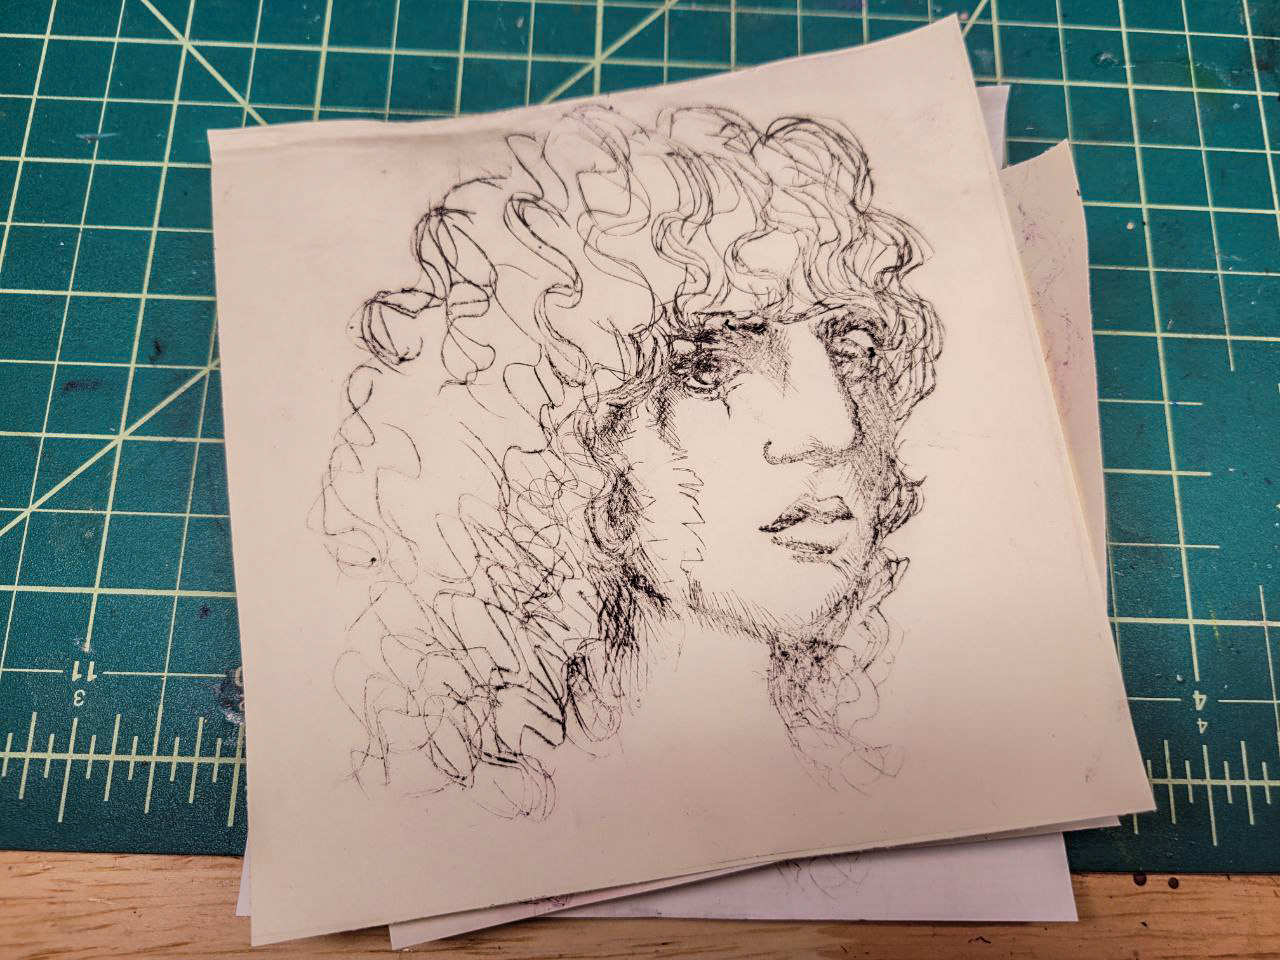
I cleaned the plate, and adjusted the pressure on the press, but this one got stuck like the one three prints earlier. Where the ink seems to run out is when I had to reverse the whole thing to get it out of the press. Neenah Paper.
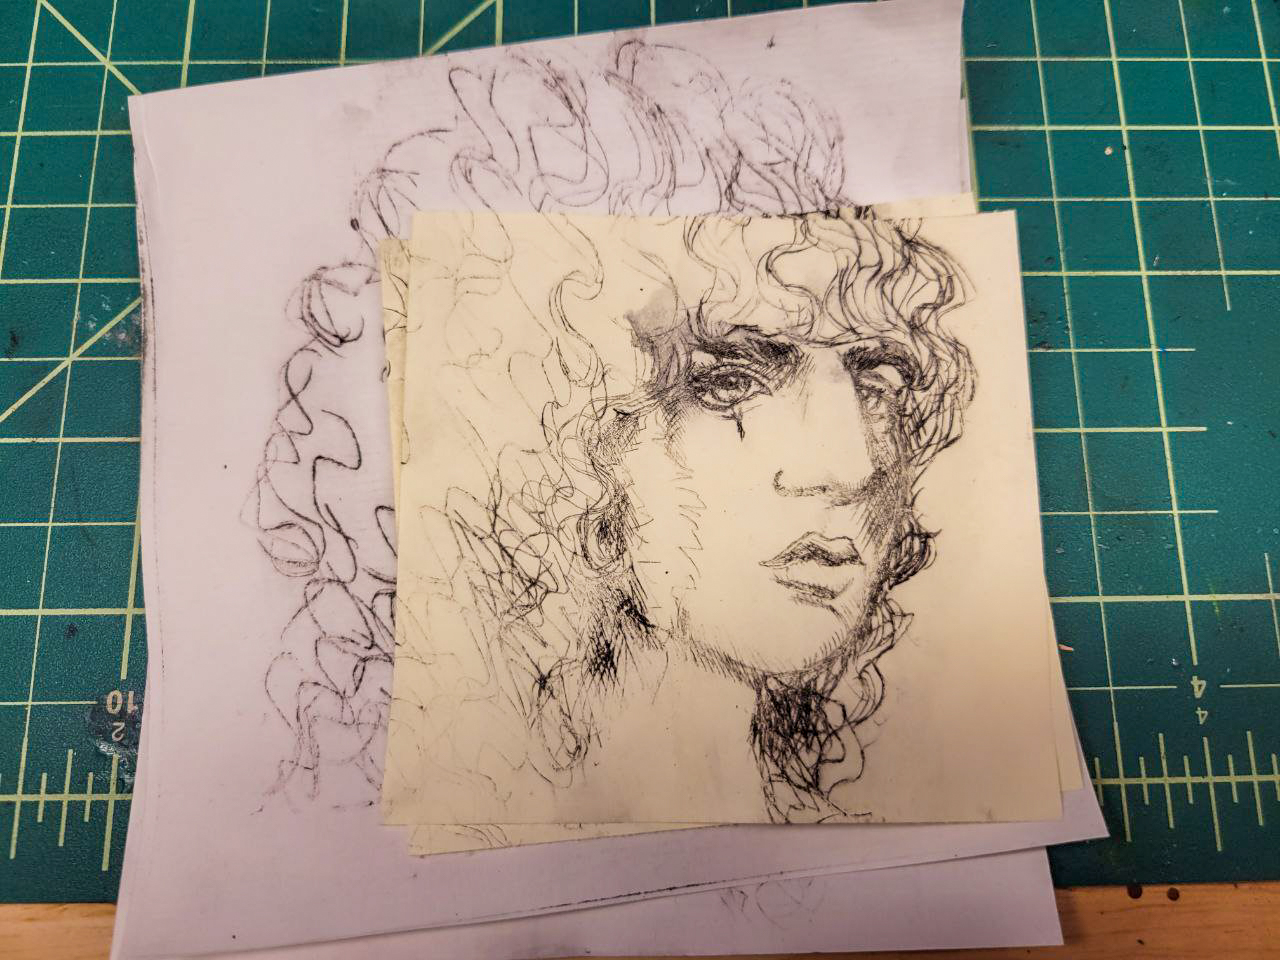
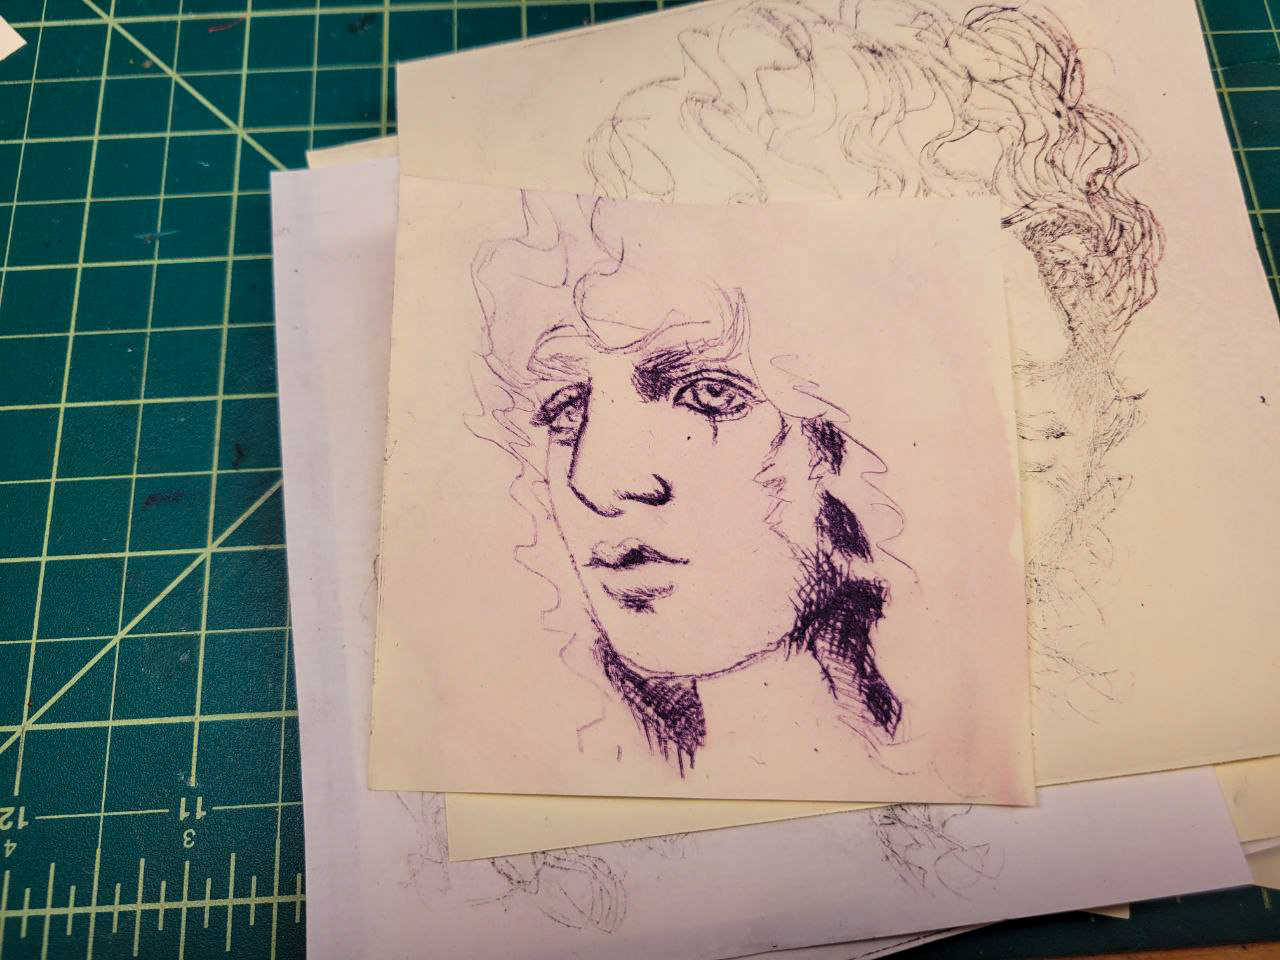
This is my second favourite one. There’s a bit of washy bleed from where the paper was still wet (I was very impatient by this point and was just spritzing the paper and going). Neenah Paper.
Here’s where the bookboard split completely and was crazy soggy. This one I had to reverse after it’d been pressed and the wet caused a mess. I think it might have been a good one in a proper press. Neenah Paper.
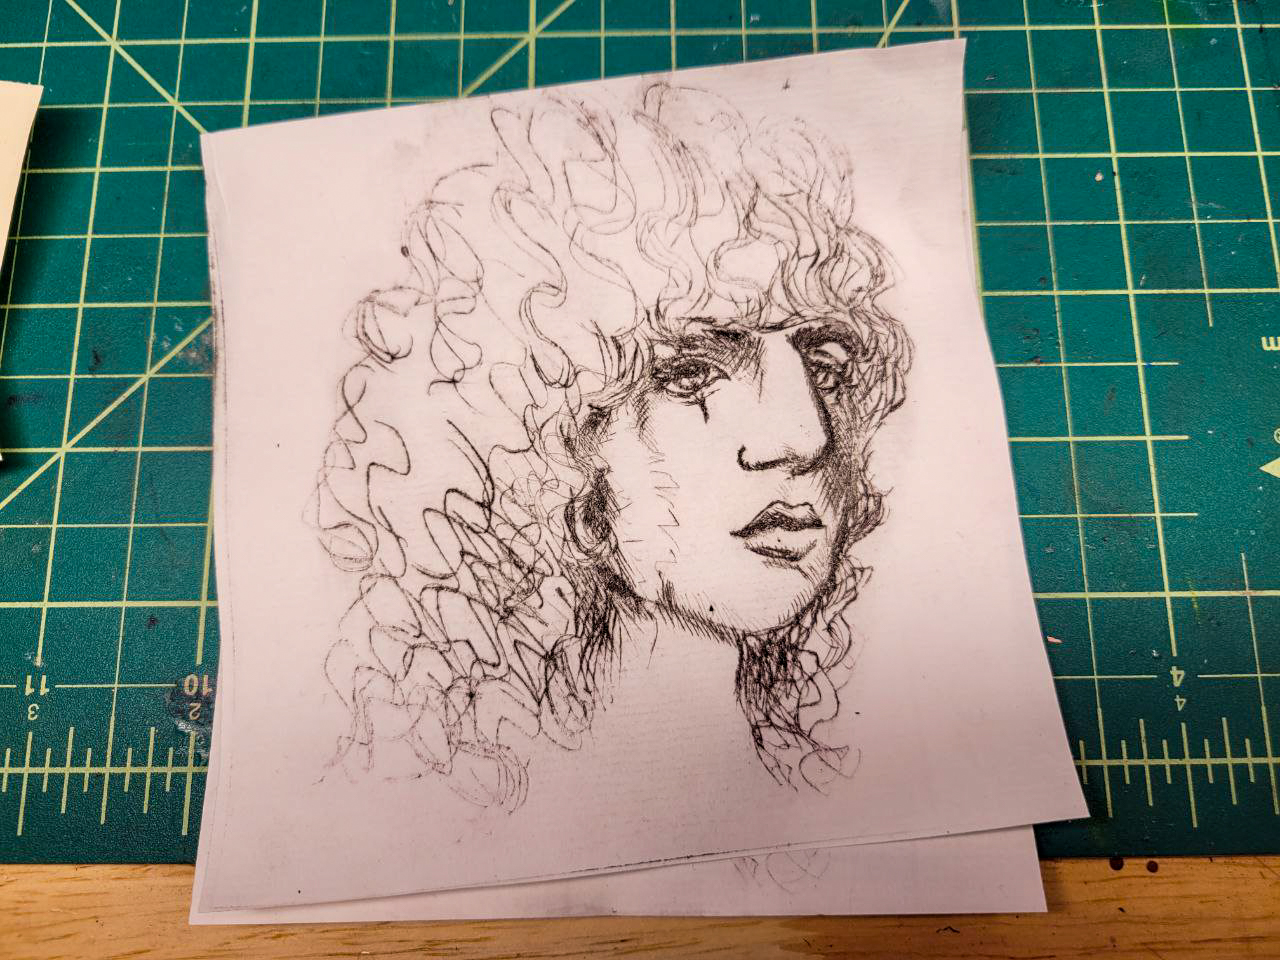
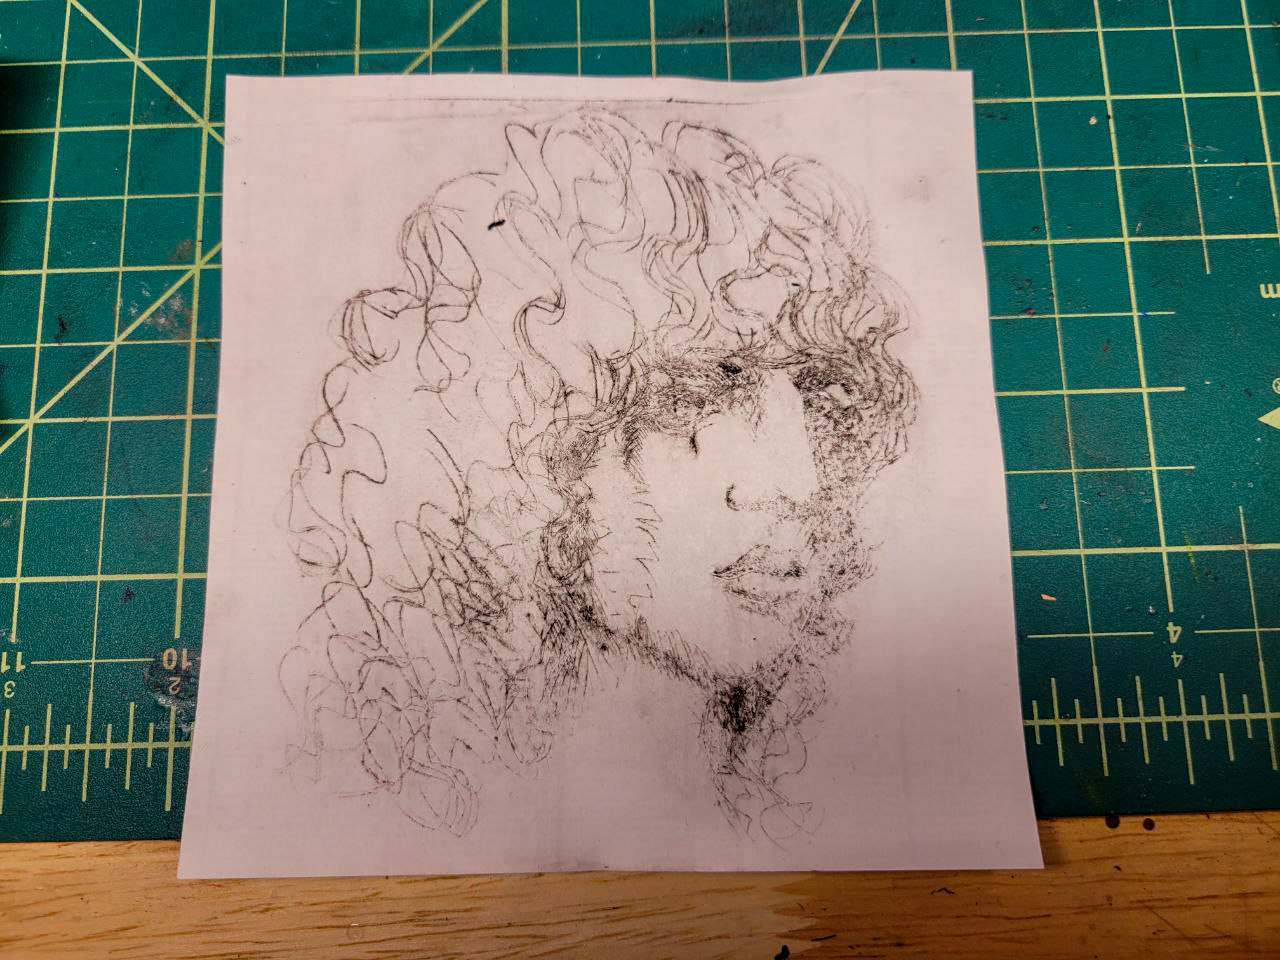
This one is the best of the properly facing ones, I think. I used Canson Ingres paper, just to try something different. It’s annoying that the plate was too close to the edge at the top, but that’s what I get when I’m using soggy bookboard and making things up as I go. Canson Ingres Paper.
I decided the one above was good enough to say I made a nice print today, and the final one was done to again see if pressing without more ink makes anything interesting happen or if it cleans the plate. Maybe it cleans it, but nothing interesting is made from that venture. Canson Ingres Paper.
Conclusion
I had a fantastic couple of hours with this! Just look at how cool it looks when it’s actually working. It’s just like an etching in an old book, it’s actually possible without a big wet slab of stone and industrial setup. I’m absolutely thrilled by this.
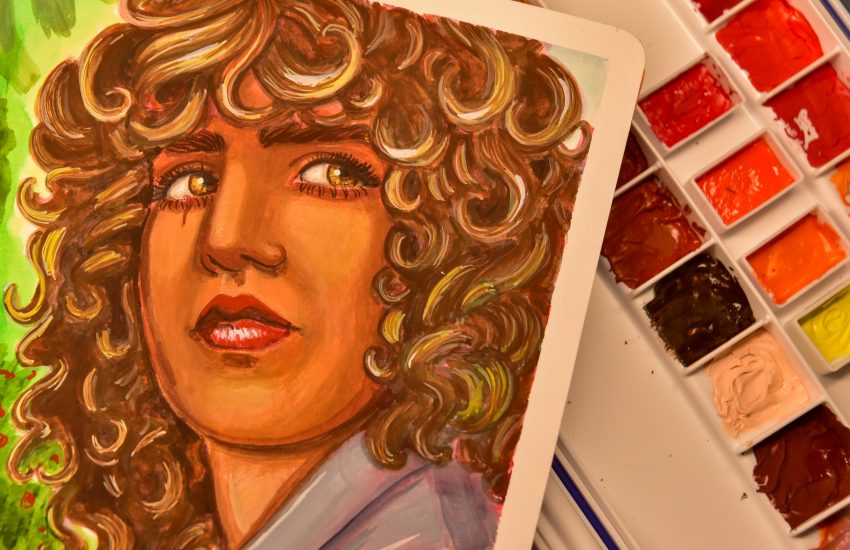
I’m ready to do something a bit more serious with more time put into it. I have all that craft plastic leftover from some gift someone got for me years ago, so I think I’ll be using it up, but maybe if I dig it well enough, I’ll go for copper one day.
First, I’ll get a proper etching tool. I’ll start there. Then, when I’ve etched enough plates that I’m sure I’m serious about it, I’ll pick up proper ink. Then I’ll try and figure out a better way to press these. My newest idea is that maybe I could get someone to run over them in a car.
This note is for my future self
You got a press, didn’t you? You exhaustively tried to draw out a plan for one, and then got overwhelmed at the drilling-into-metal part like always and instead of getting more power tools, you got a press huh?


That’s super cool!
Thanks!