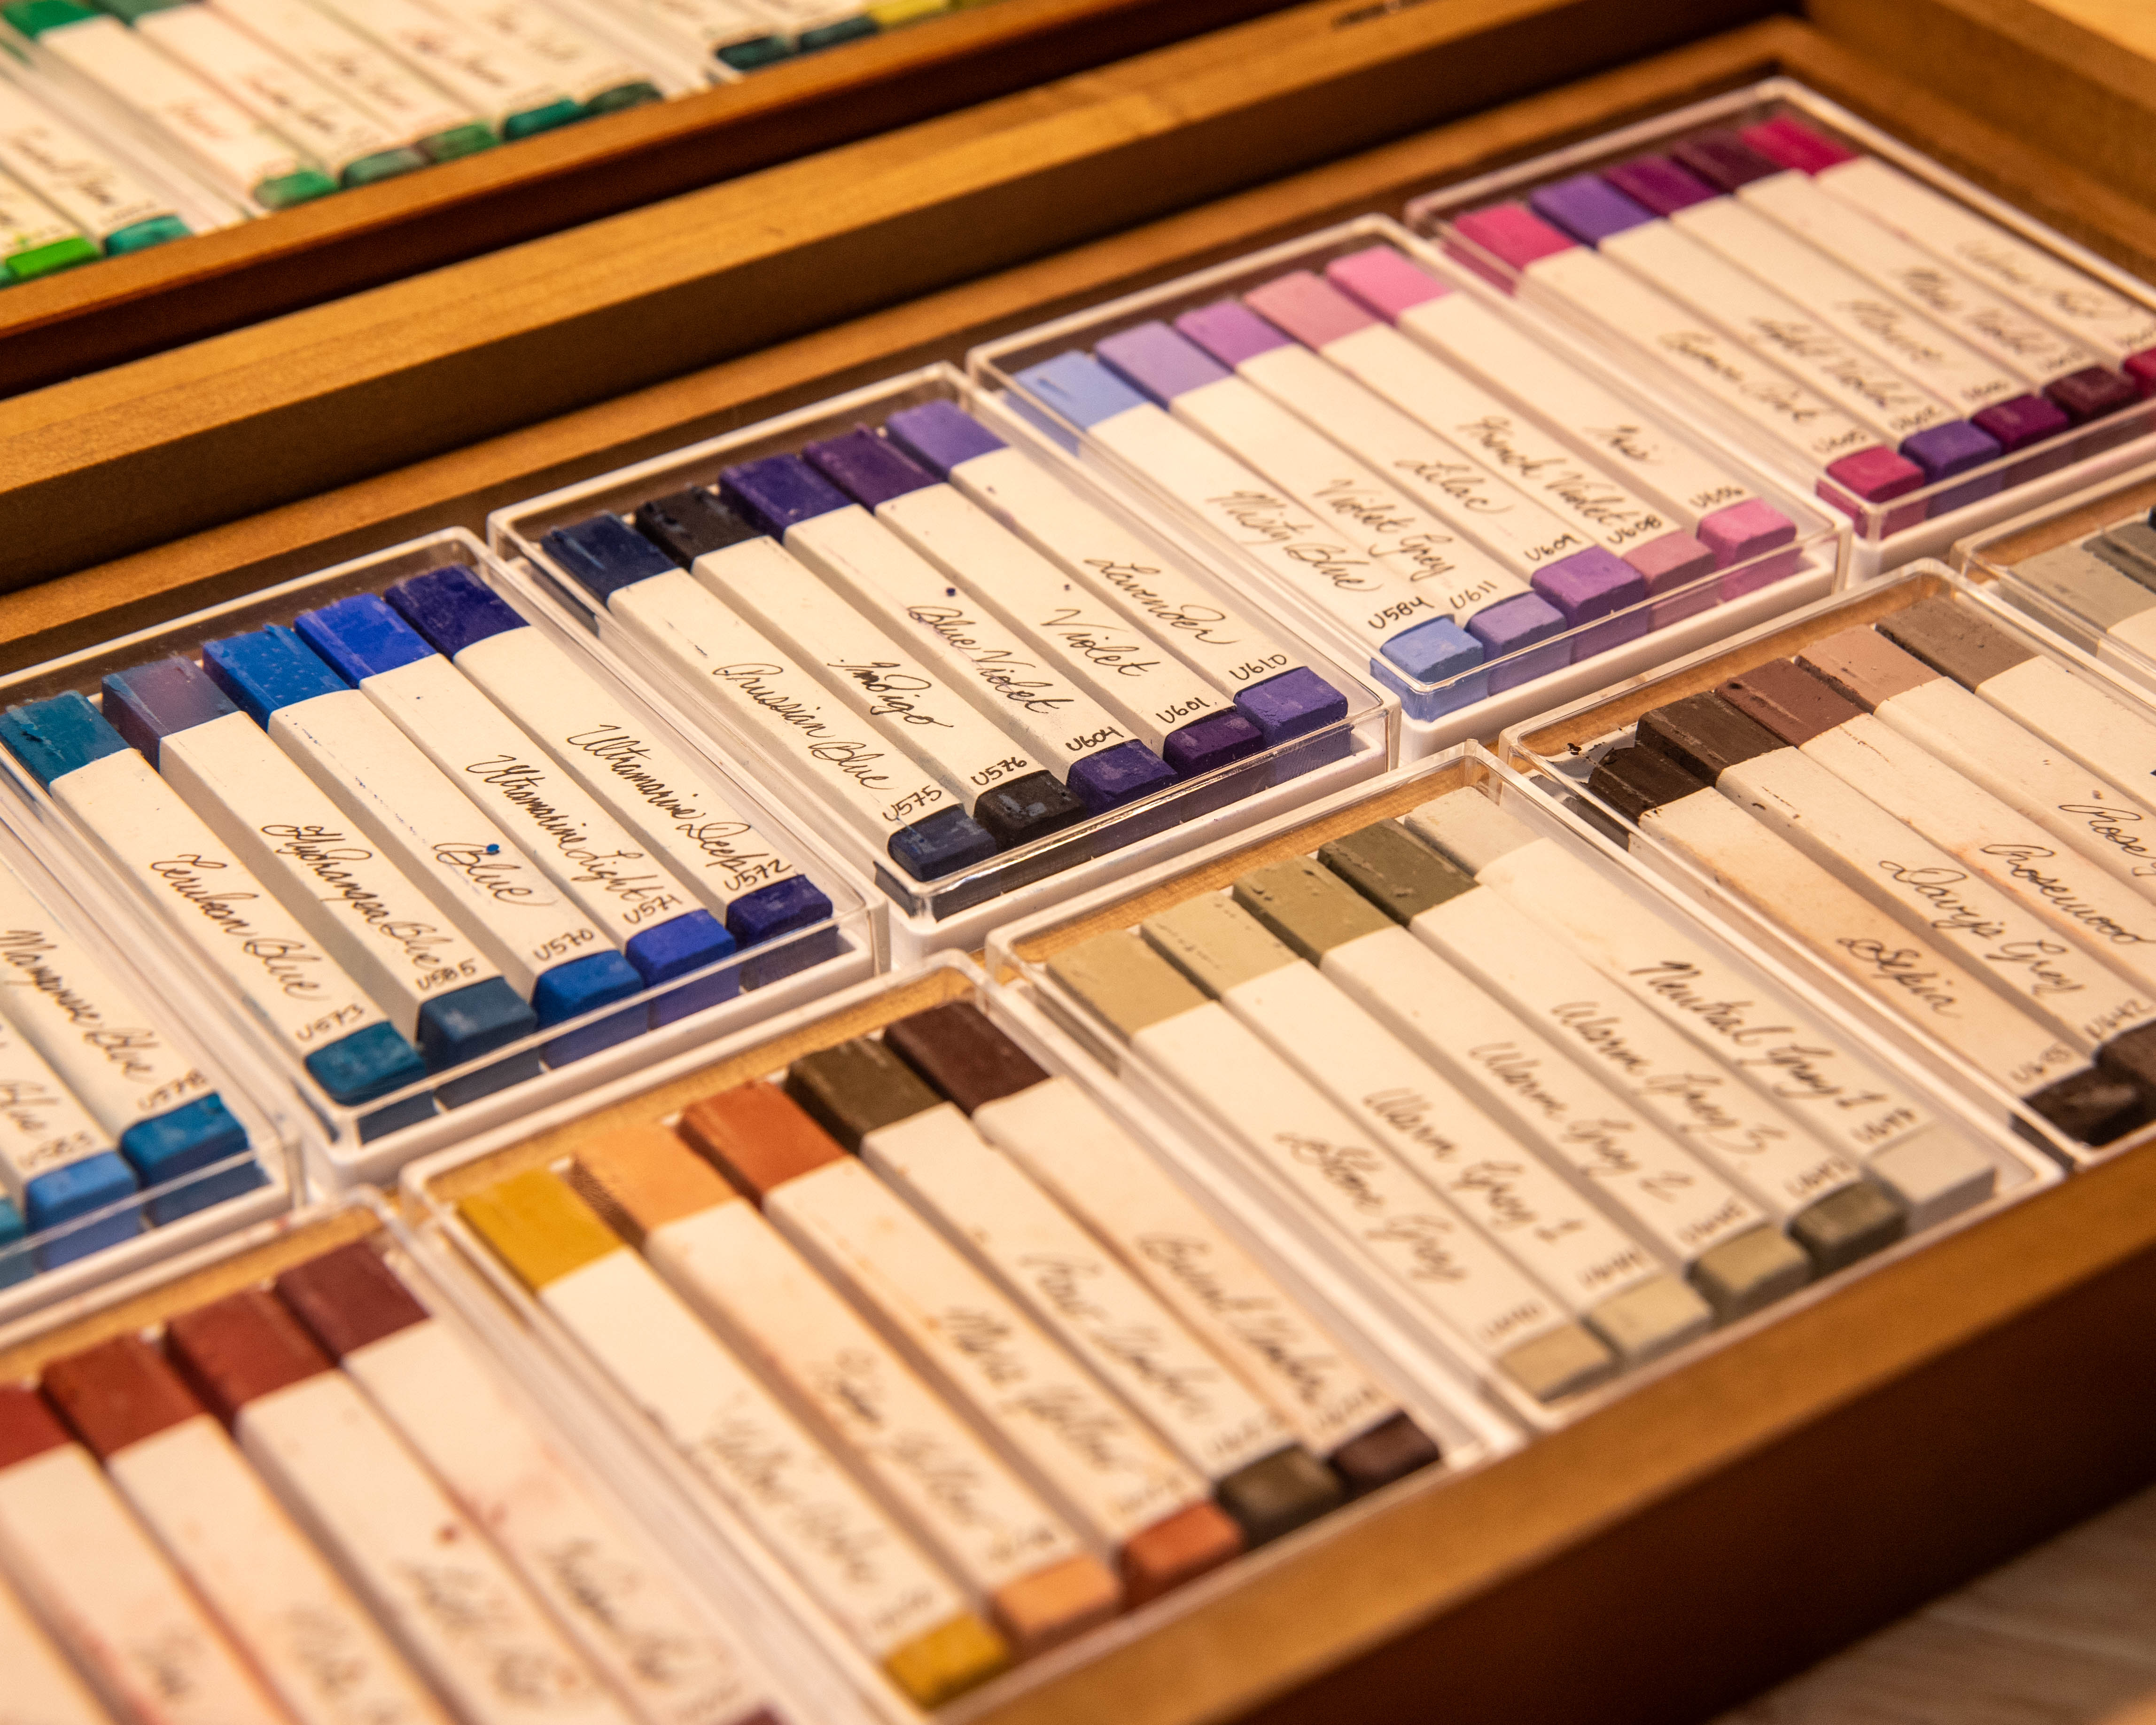
Holbein Oil Pastel Labels
Some artists prefer to have unlabelled and uncovered pastels, in order to get messy and go off of vibes and grooves. I’m not that sort of artist at this stage of the game, so I did some measurements, slicing, folding, and gluing to solve what I saw as a downside to the wonderfully-shaped Holbein Artists’ Oil Pastels. I know I’m not the only one with this issue, so here are some basic measurements and steps if you also wish to make your own labels.
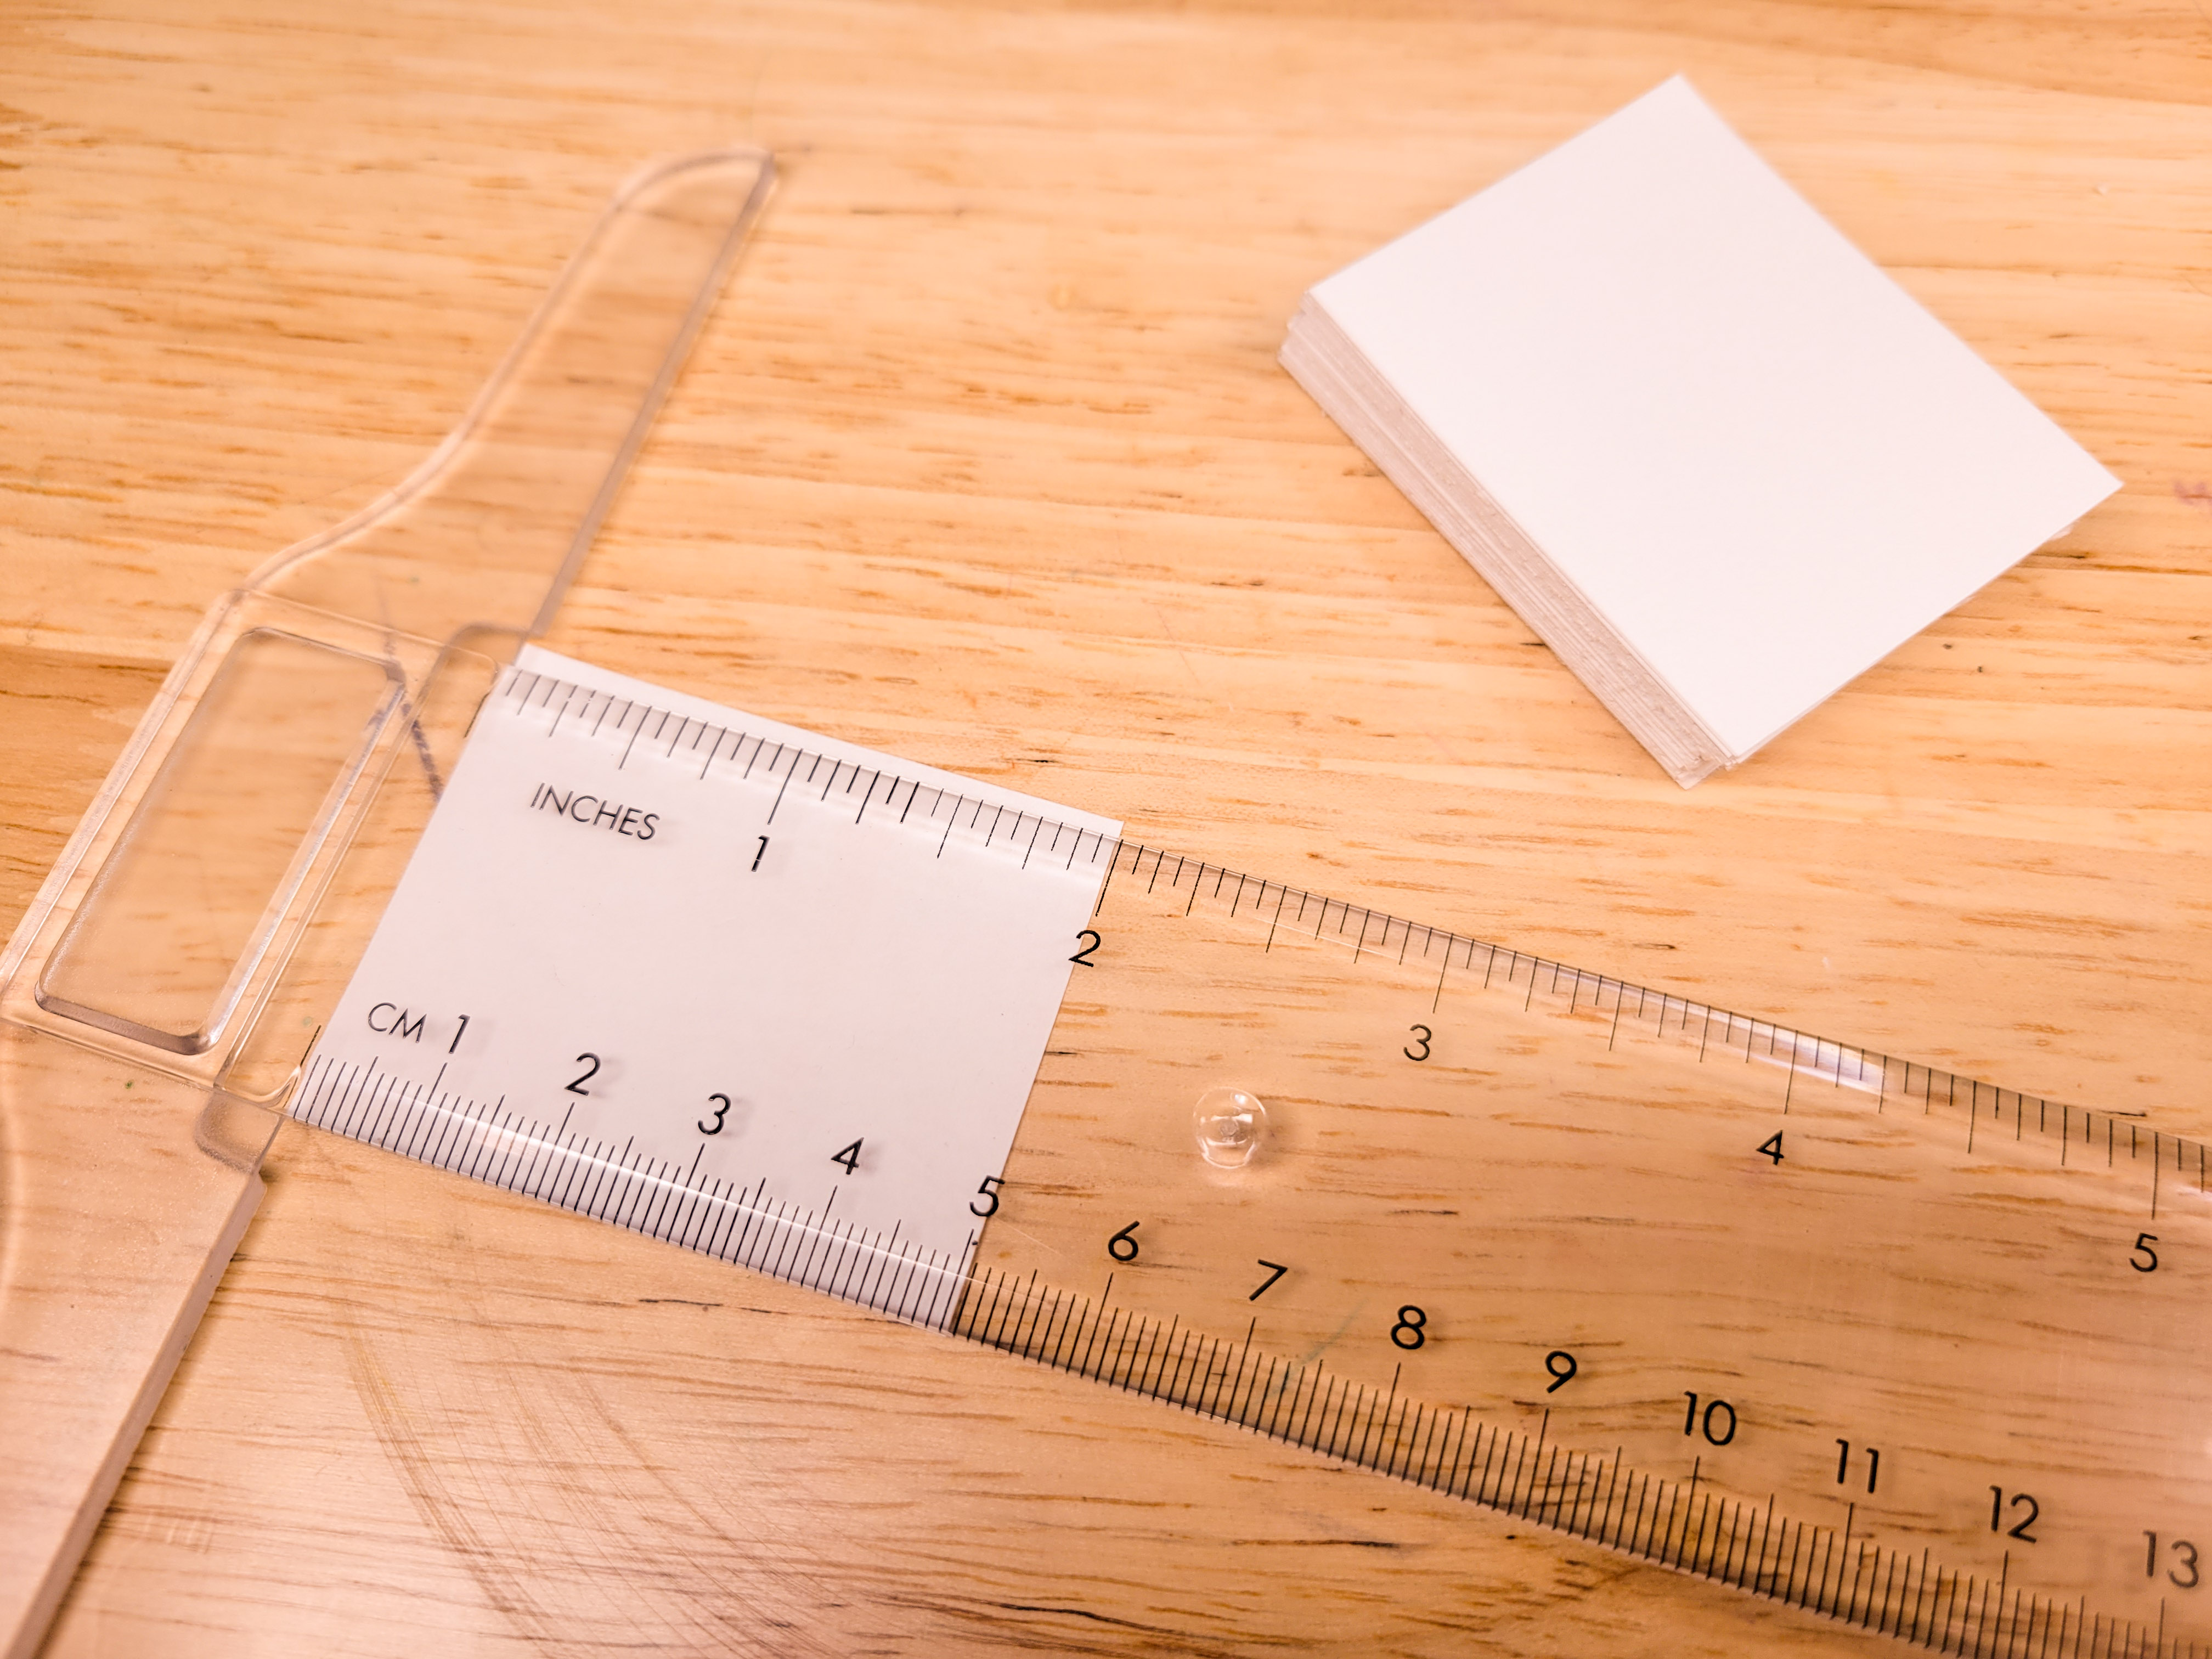
Measurements
Each stick is 9mm square x 70mm long. So, I went for 40x50mm rectangles. It’s about 2×1 5/8”.
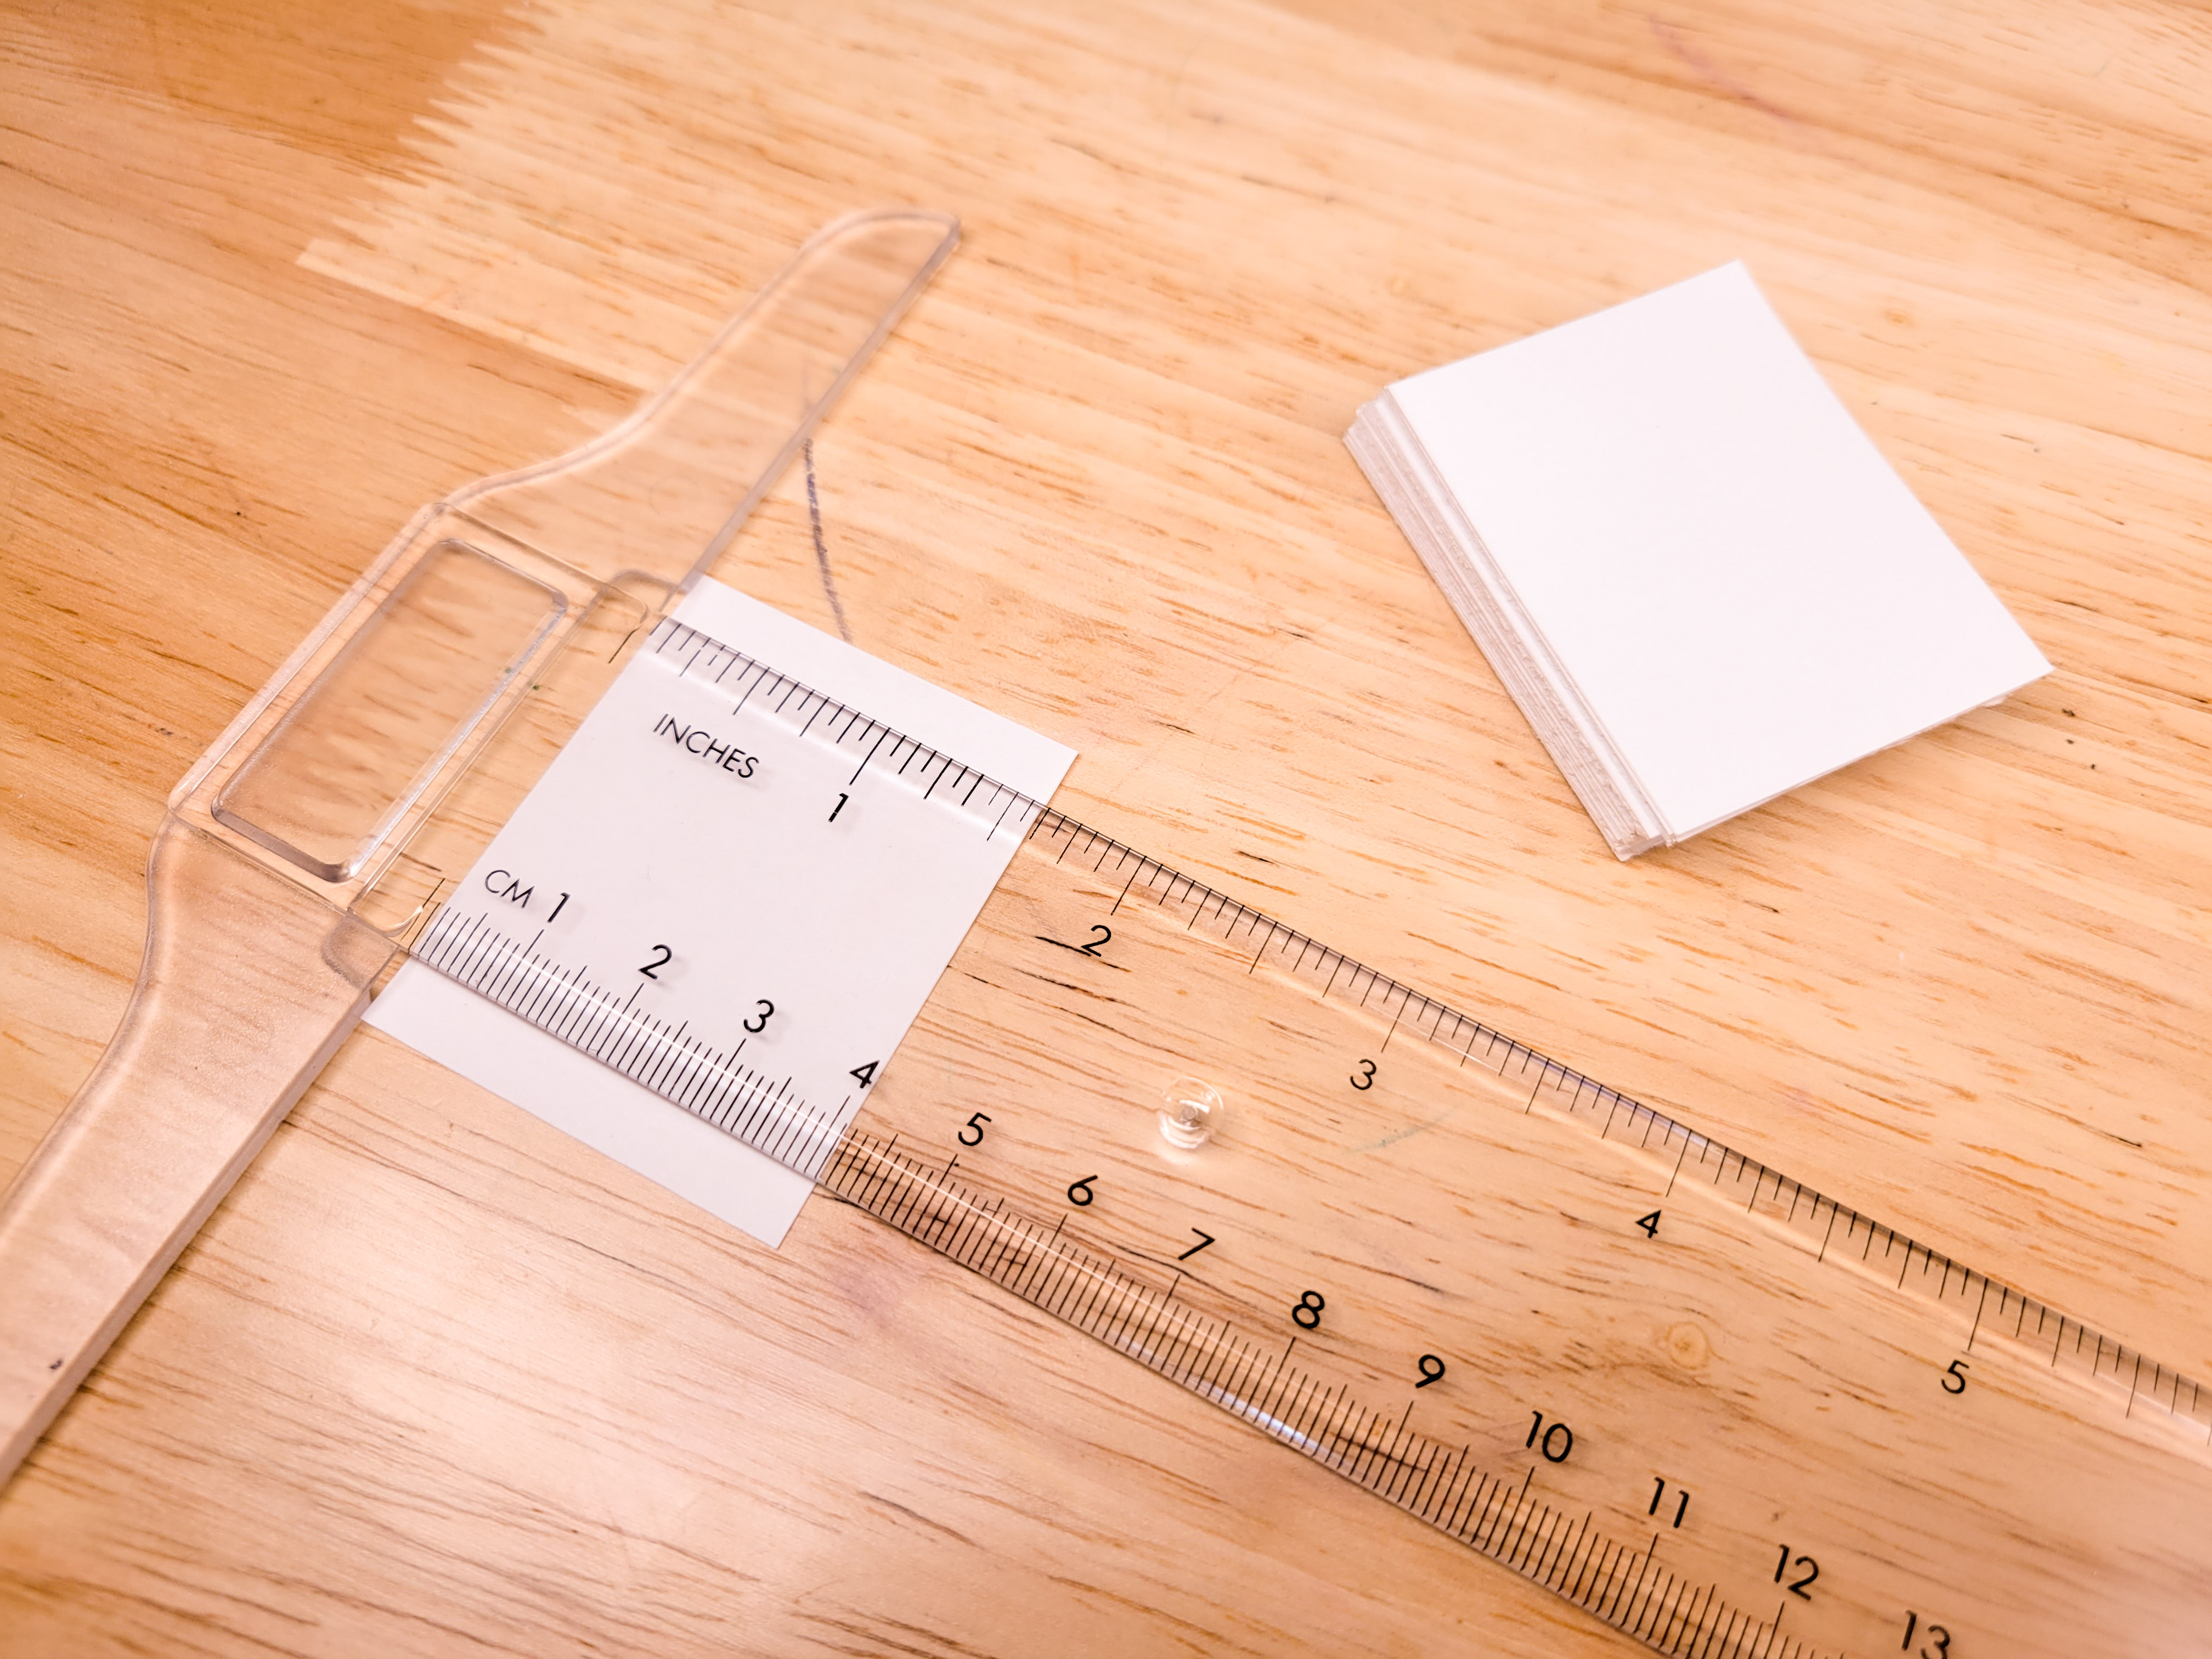
I used a little paper guillotine to get the rectangles made quickly, but marking and folding are viable options as well. The most important part that I learnt was that you should offset the folds when pre-folding the label. Here are my marks to measure:
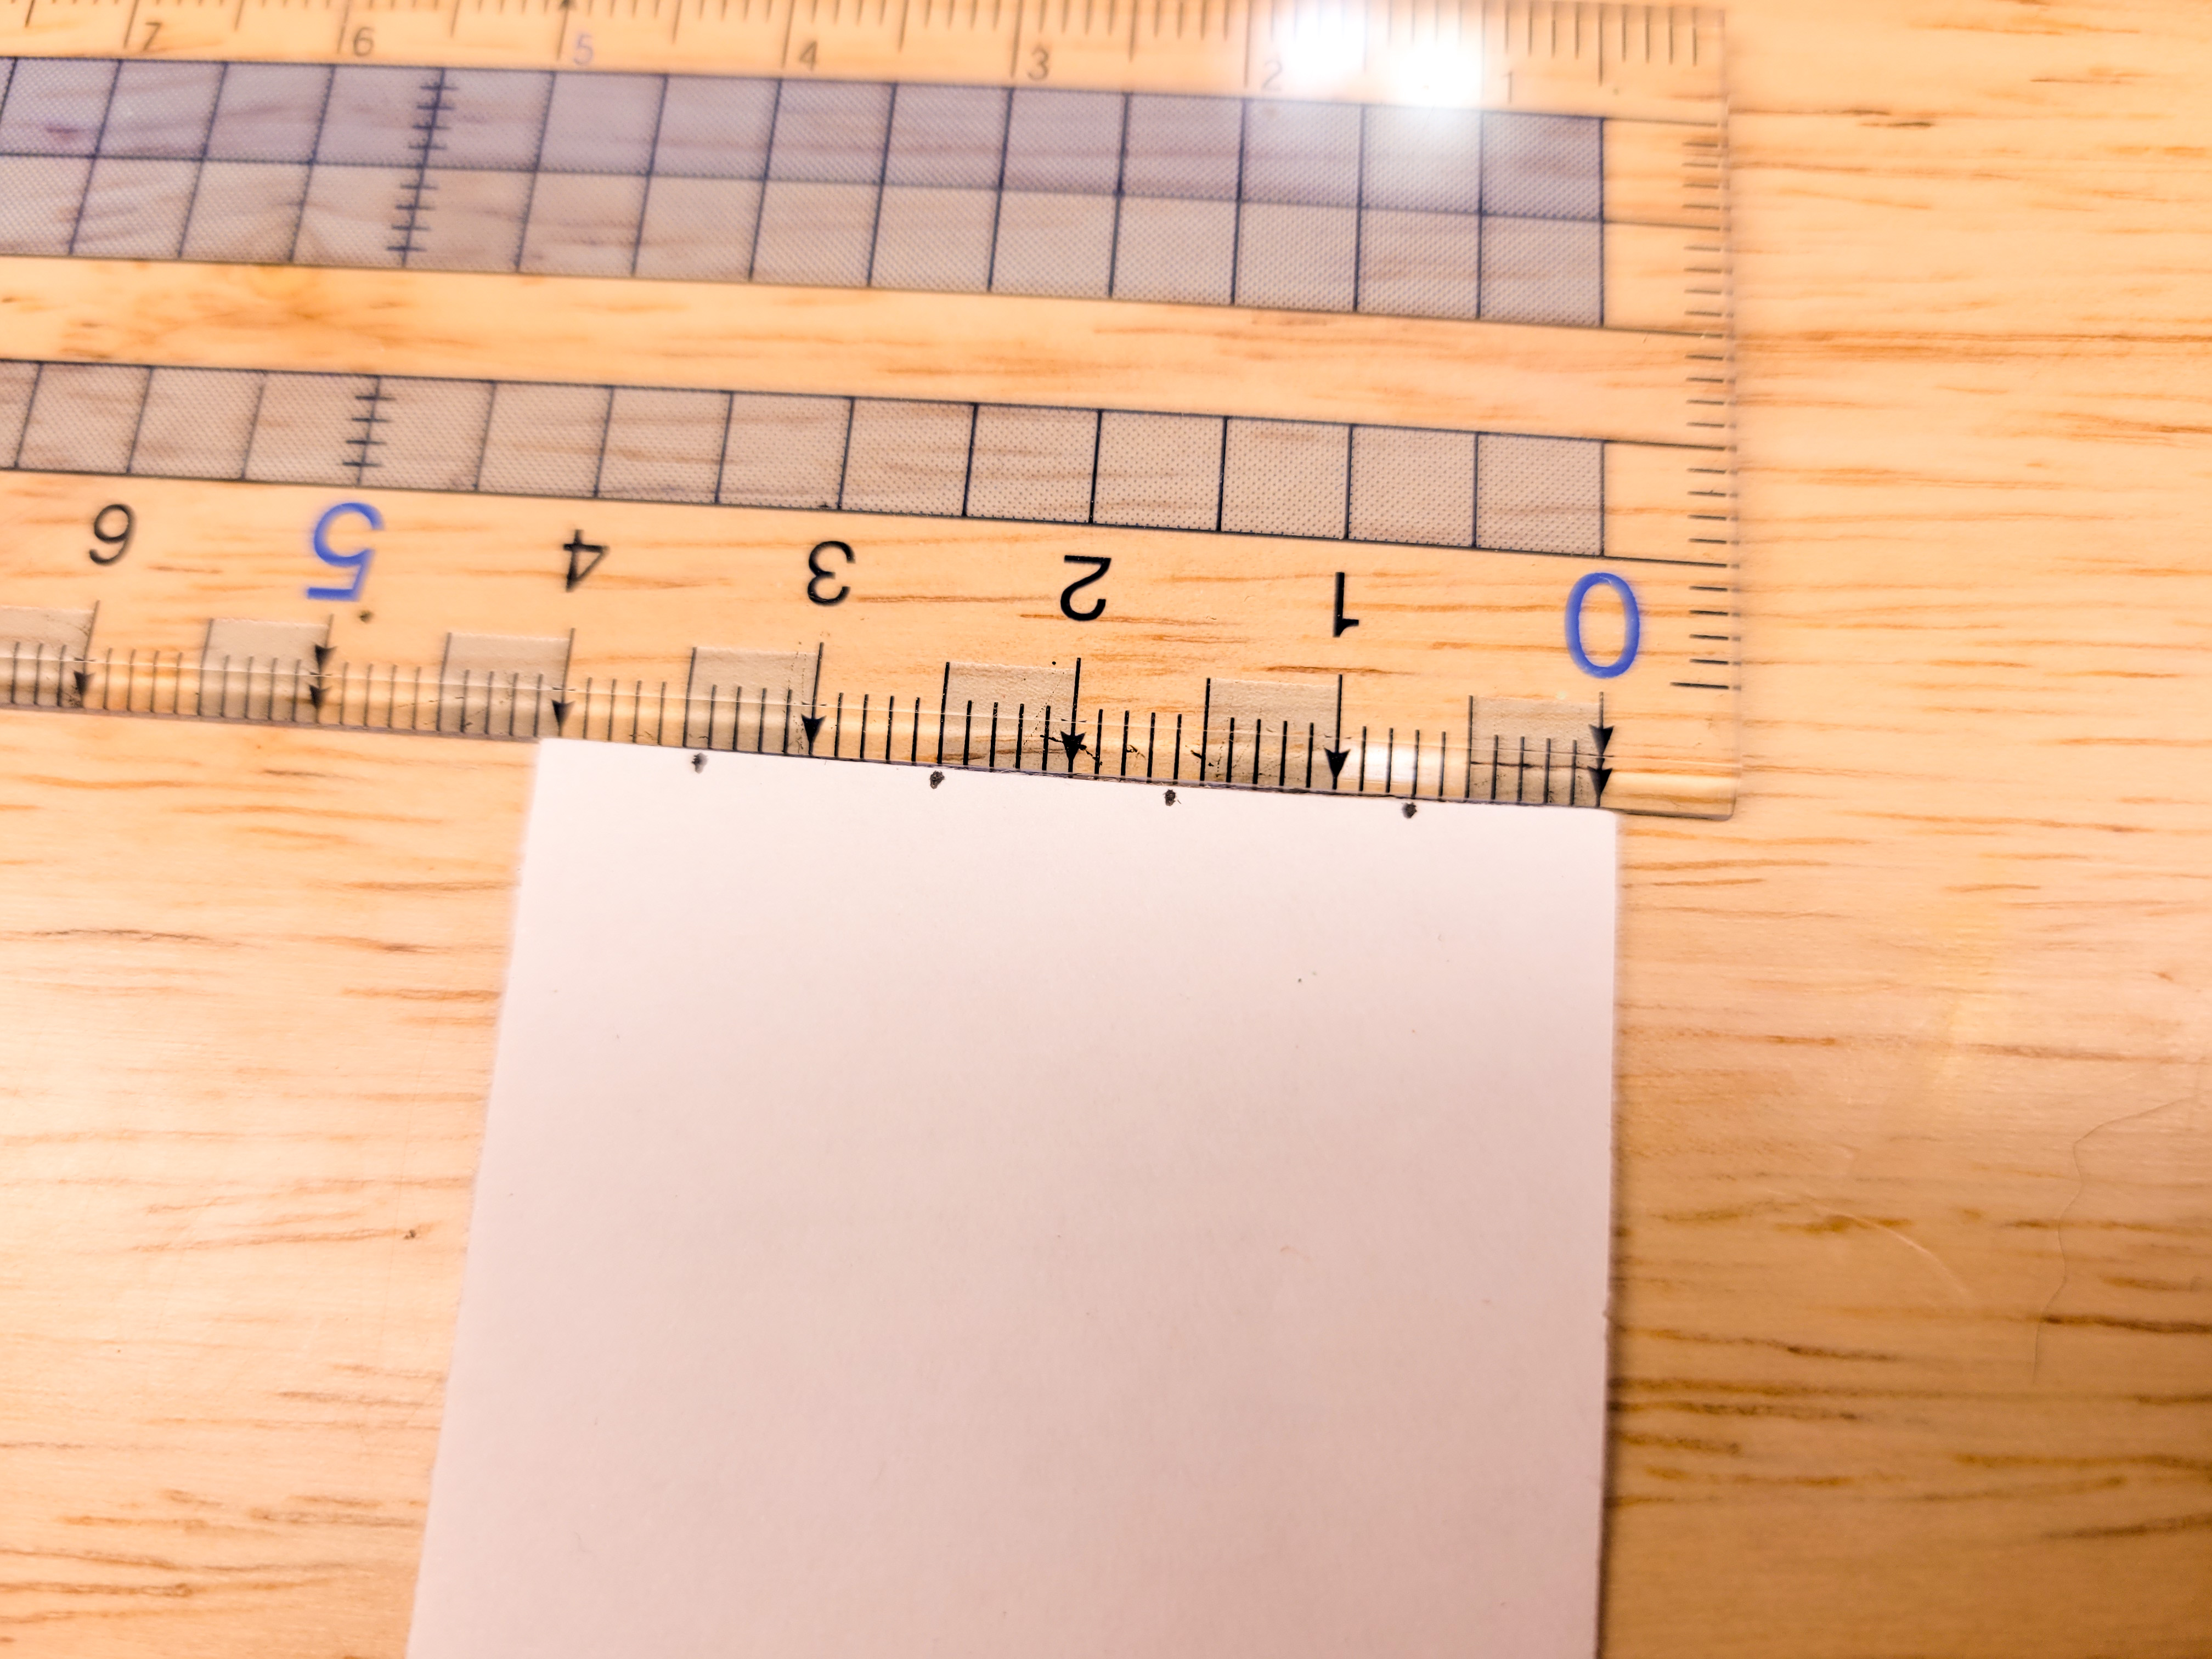
First fold at 7mm (not 9!), then 16, 25, and 34. This will give you a bit of overlap to glue which will create a seam in the middle of the plane, not on the corner. This way, it doesn’t have to be quite as precise in order for the pastel to fit nicely back into the little holder.
I took this one measured sheet and made it into a folding template by using the ruler to get a clean line on a thin fold:


Then you’re left with a nice template:
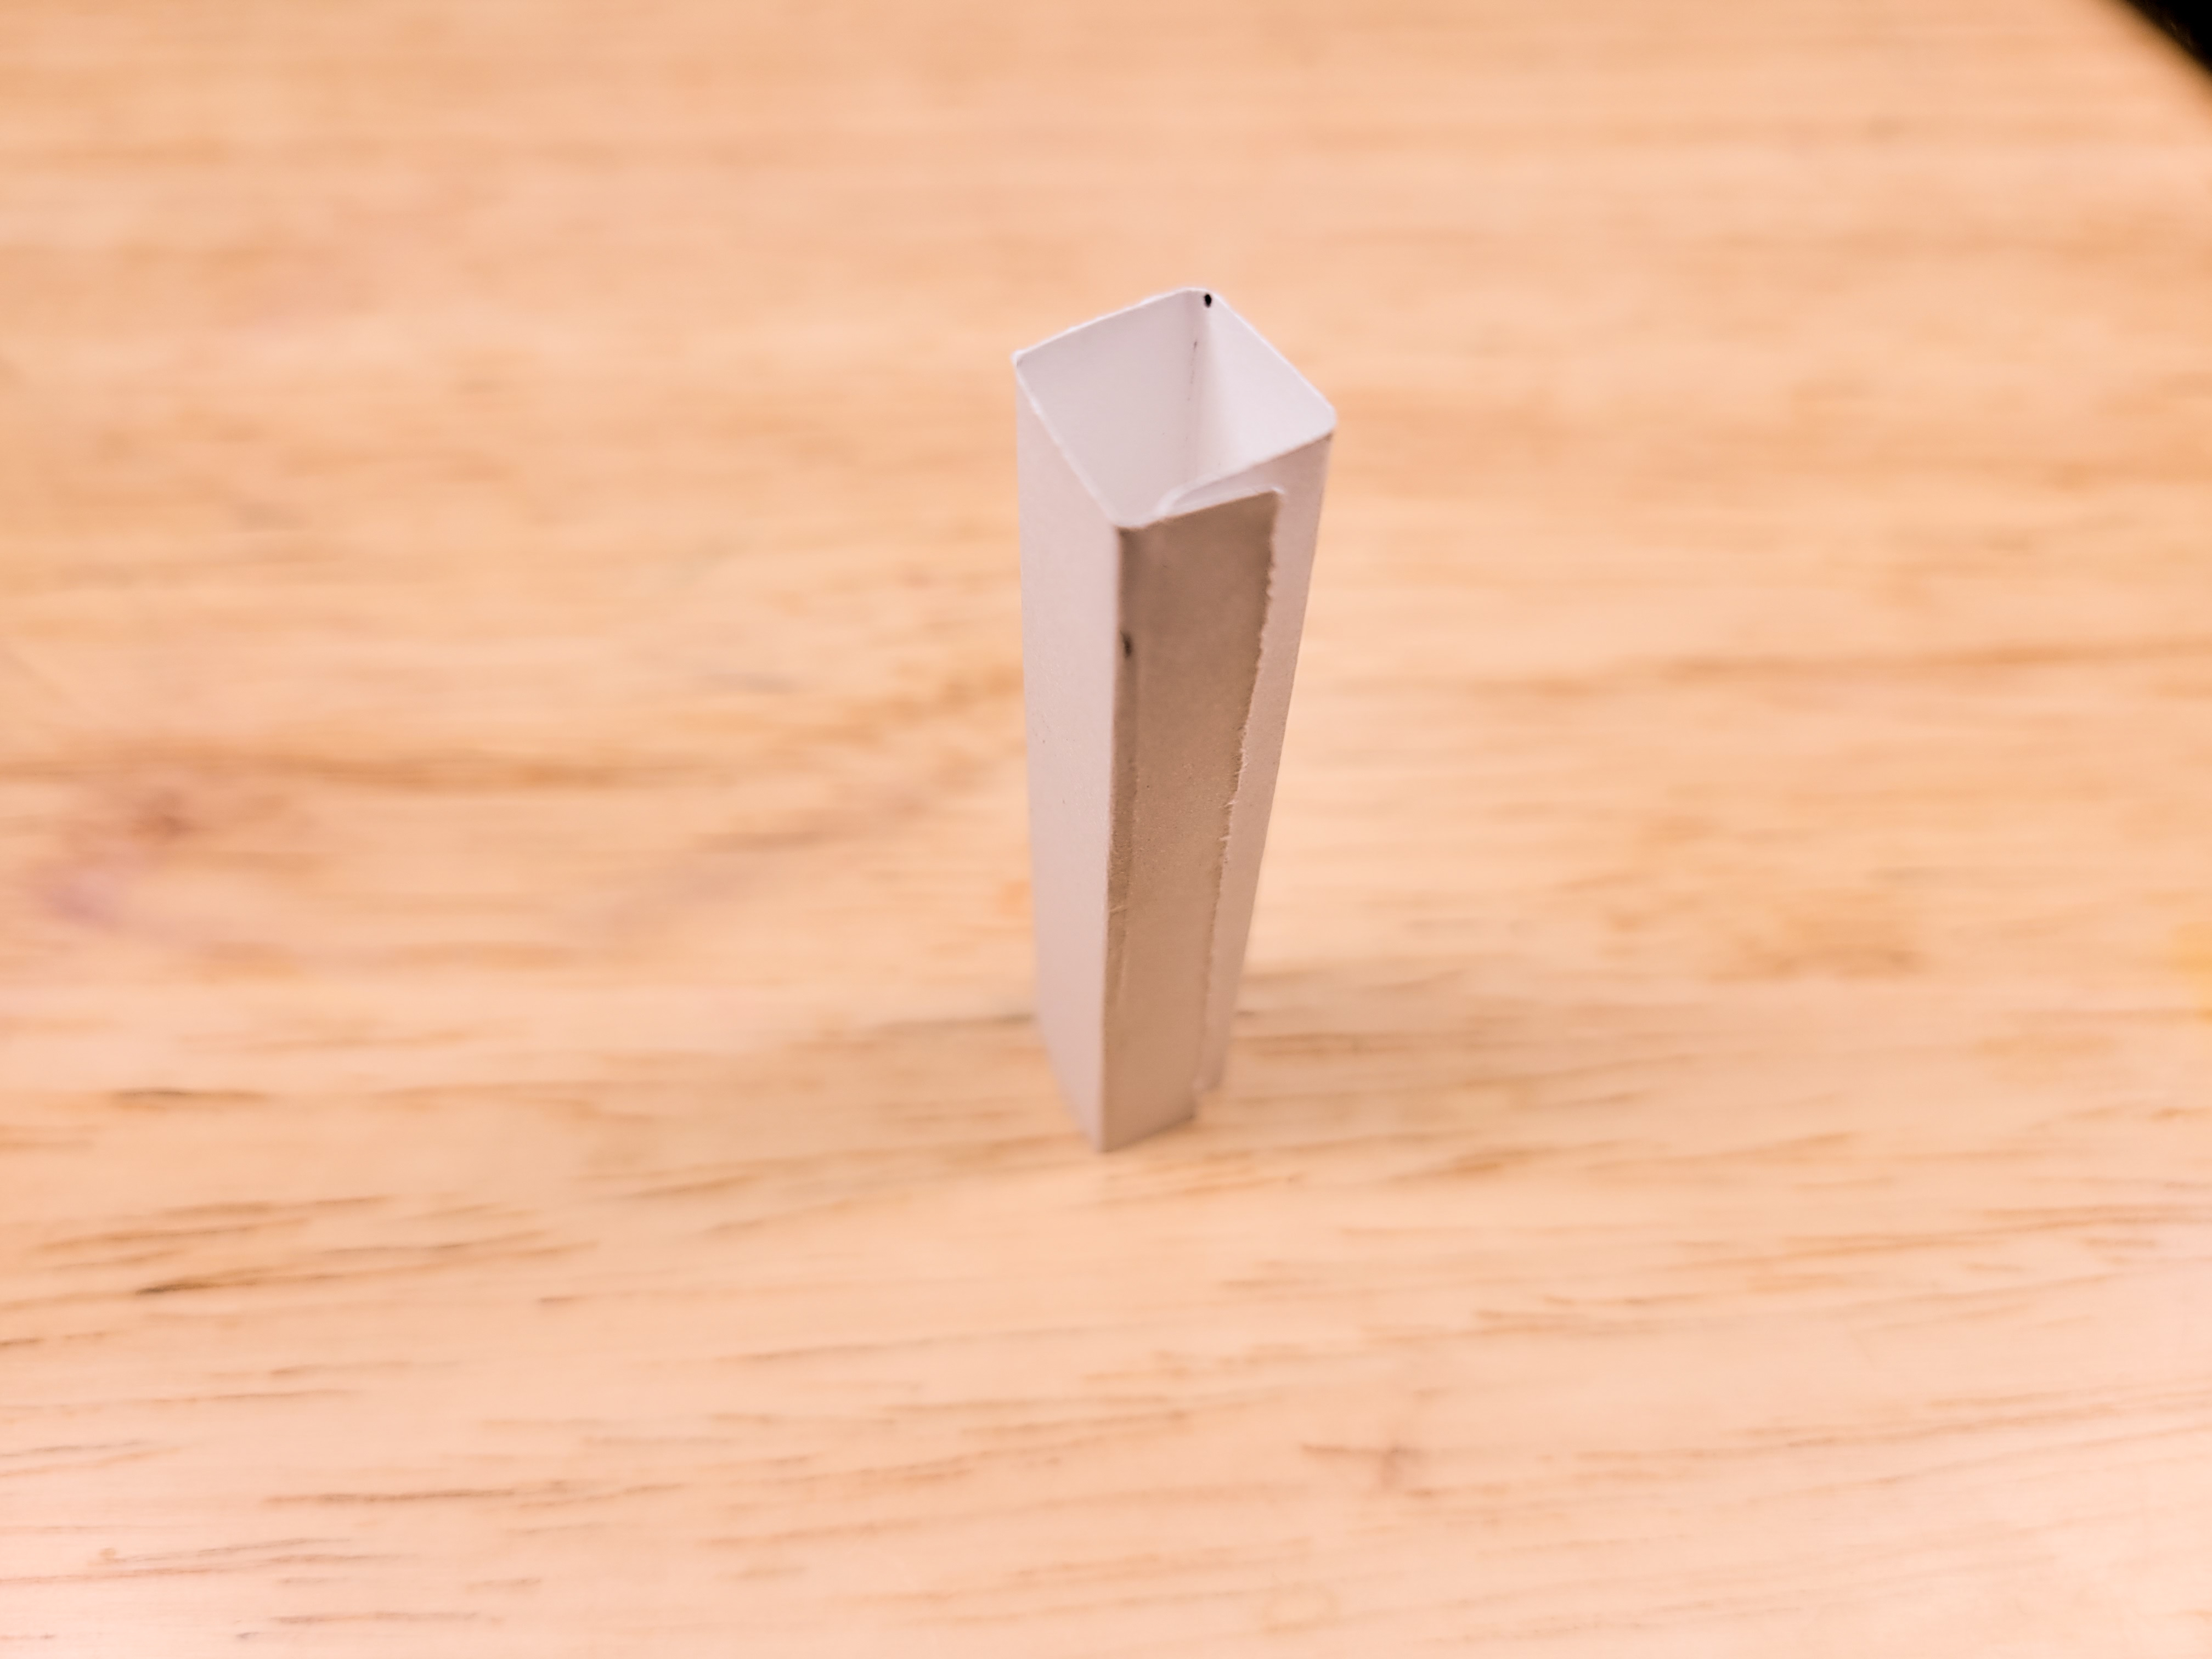
Using the Template to Fold All Those Sheets
Instead of using the ruler to fold all the sheets, I used the template. It’s quicker this way. Here’s a video to explain if you can’t visualise that. Notice that the first fold stays folded throughout the process in order to keep the sheets lined up, and also that the third fold is folding the entire unit (with tucked first piece) in half. Just some patterns I noticed along the way and am passing on to save trouble. Folding all those labels was a nice sort of choreography to get into. Reminded me of folding pizza boxes when I was a kid.
Writing and Applying
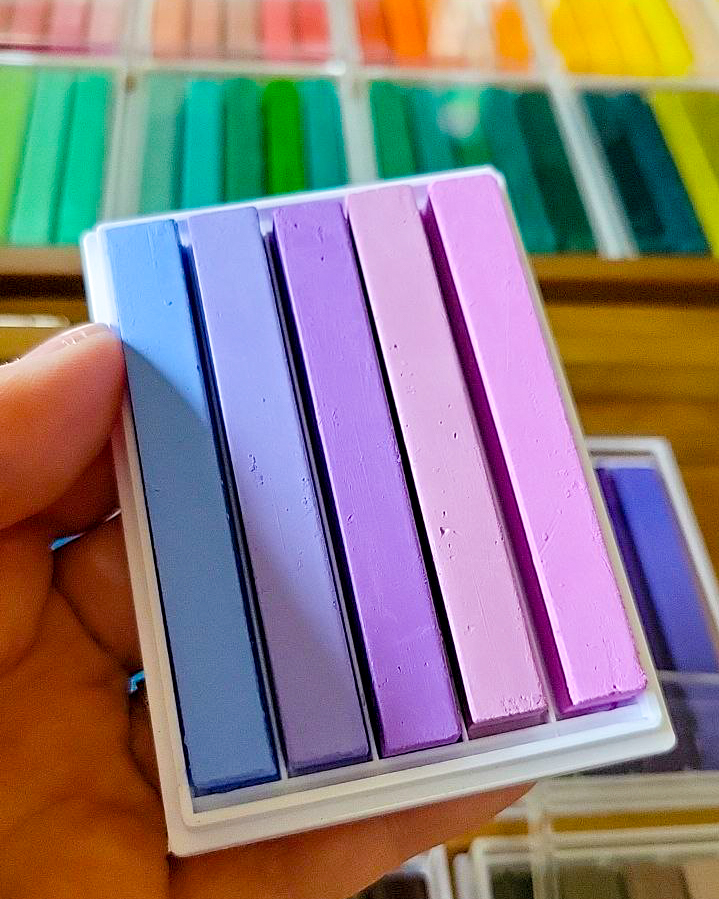
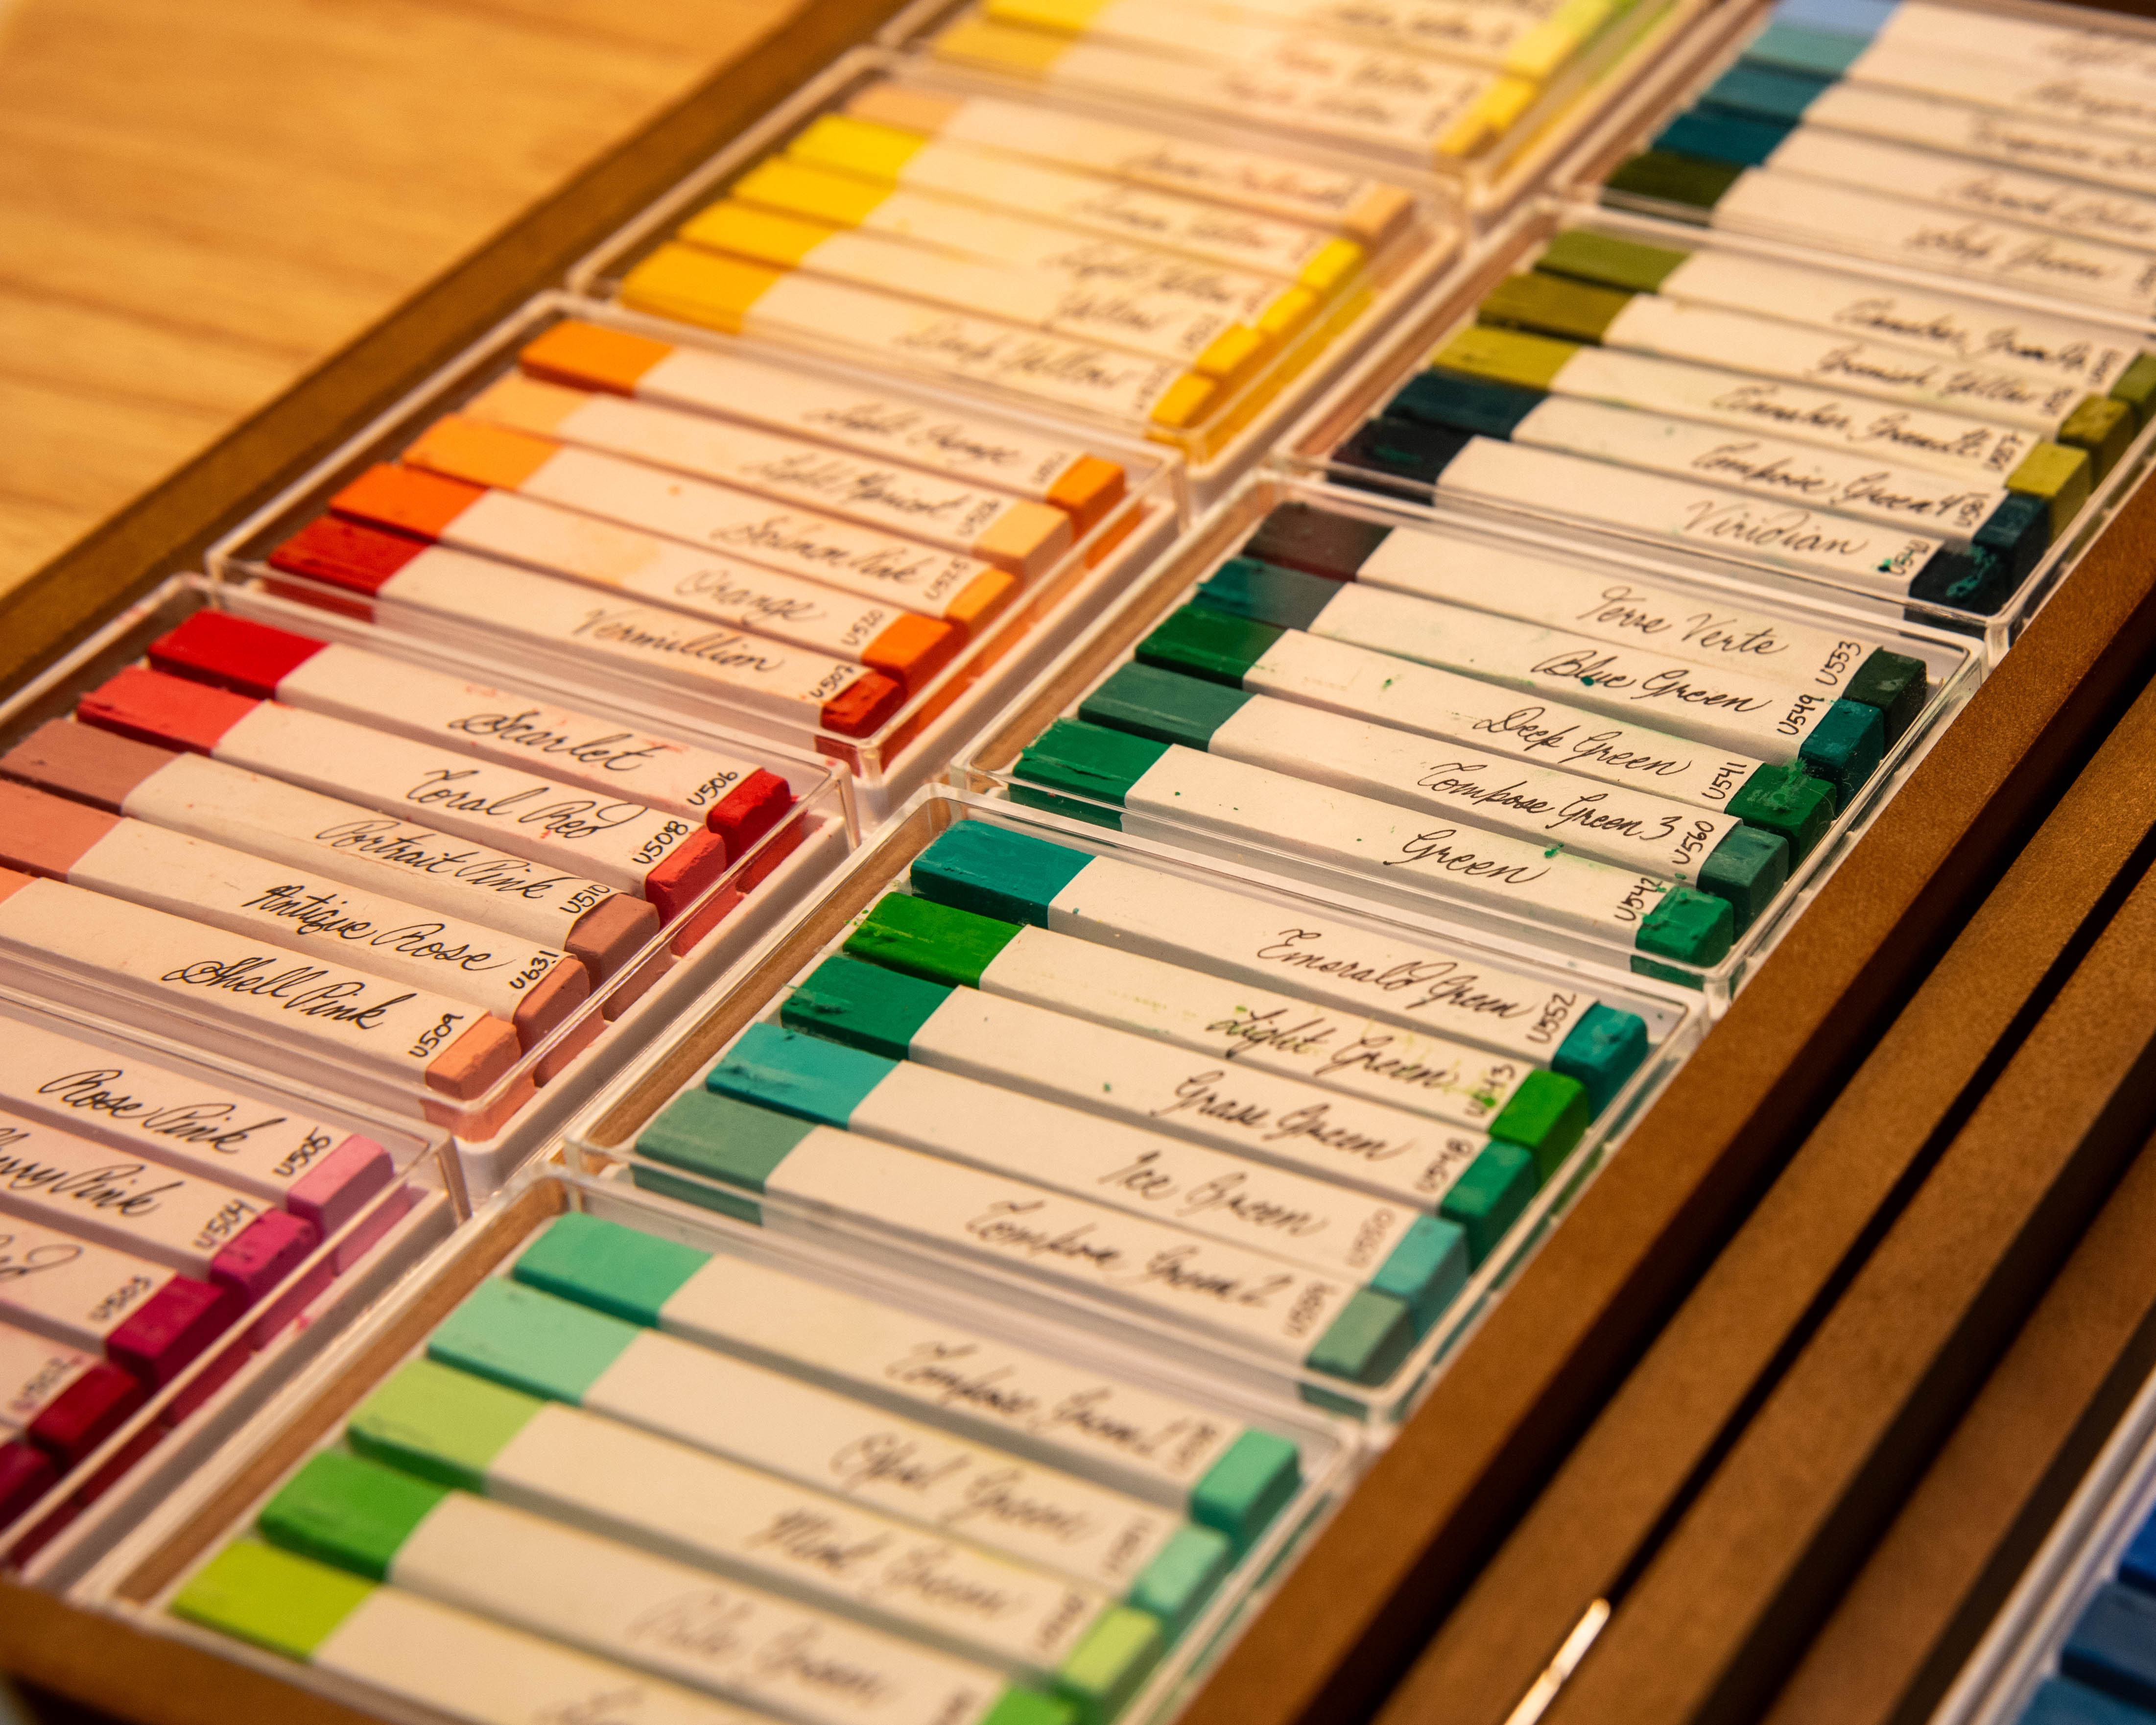
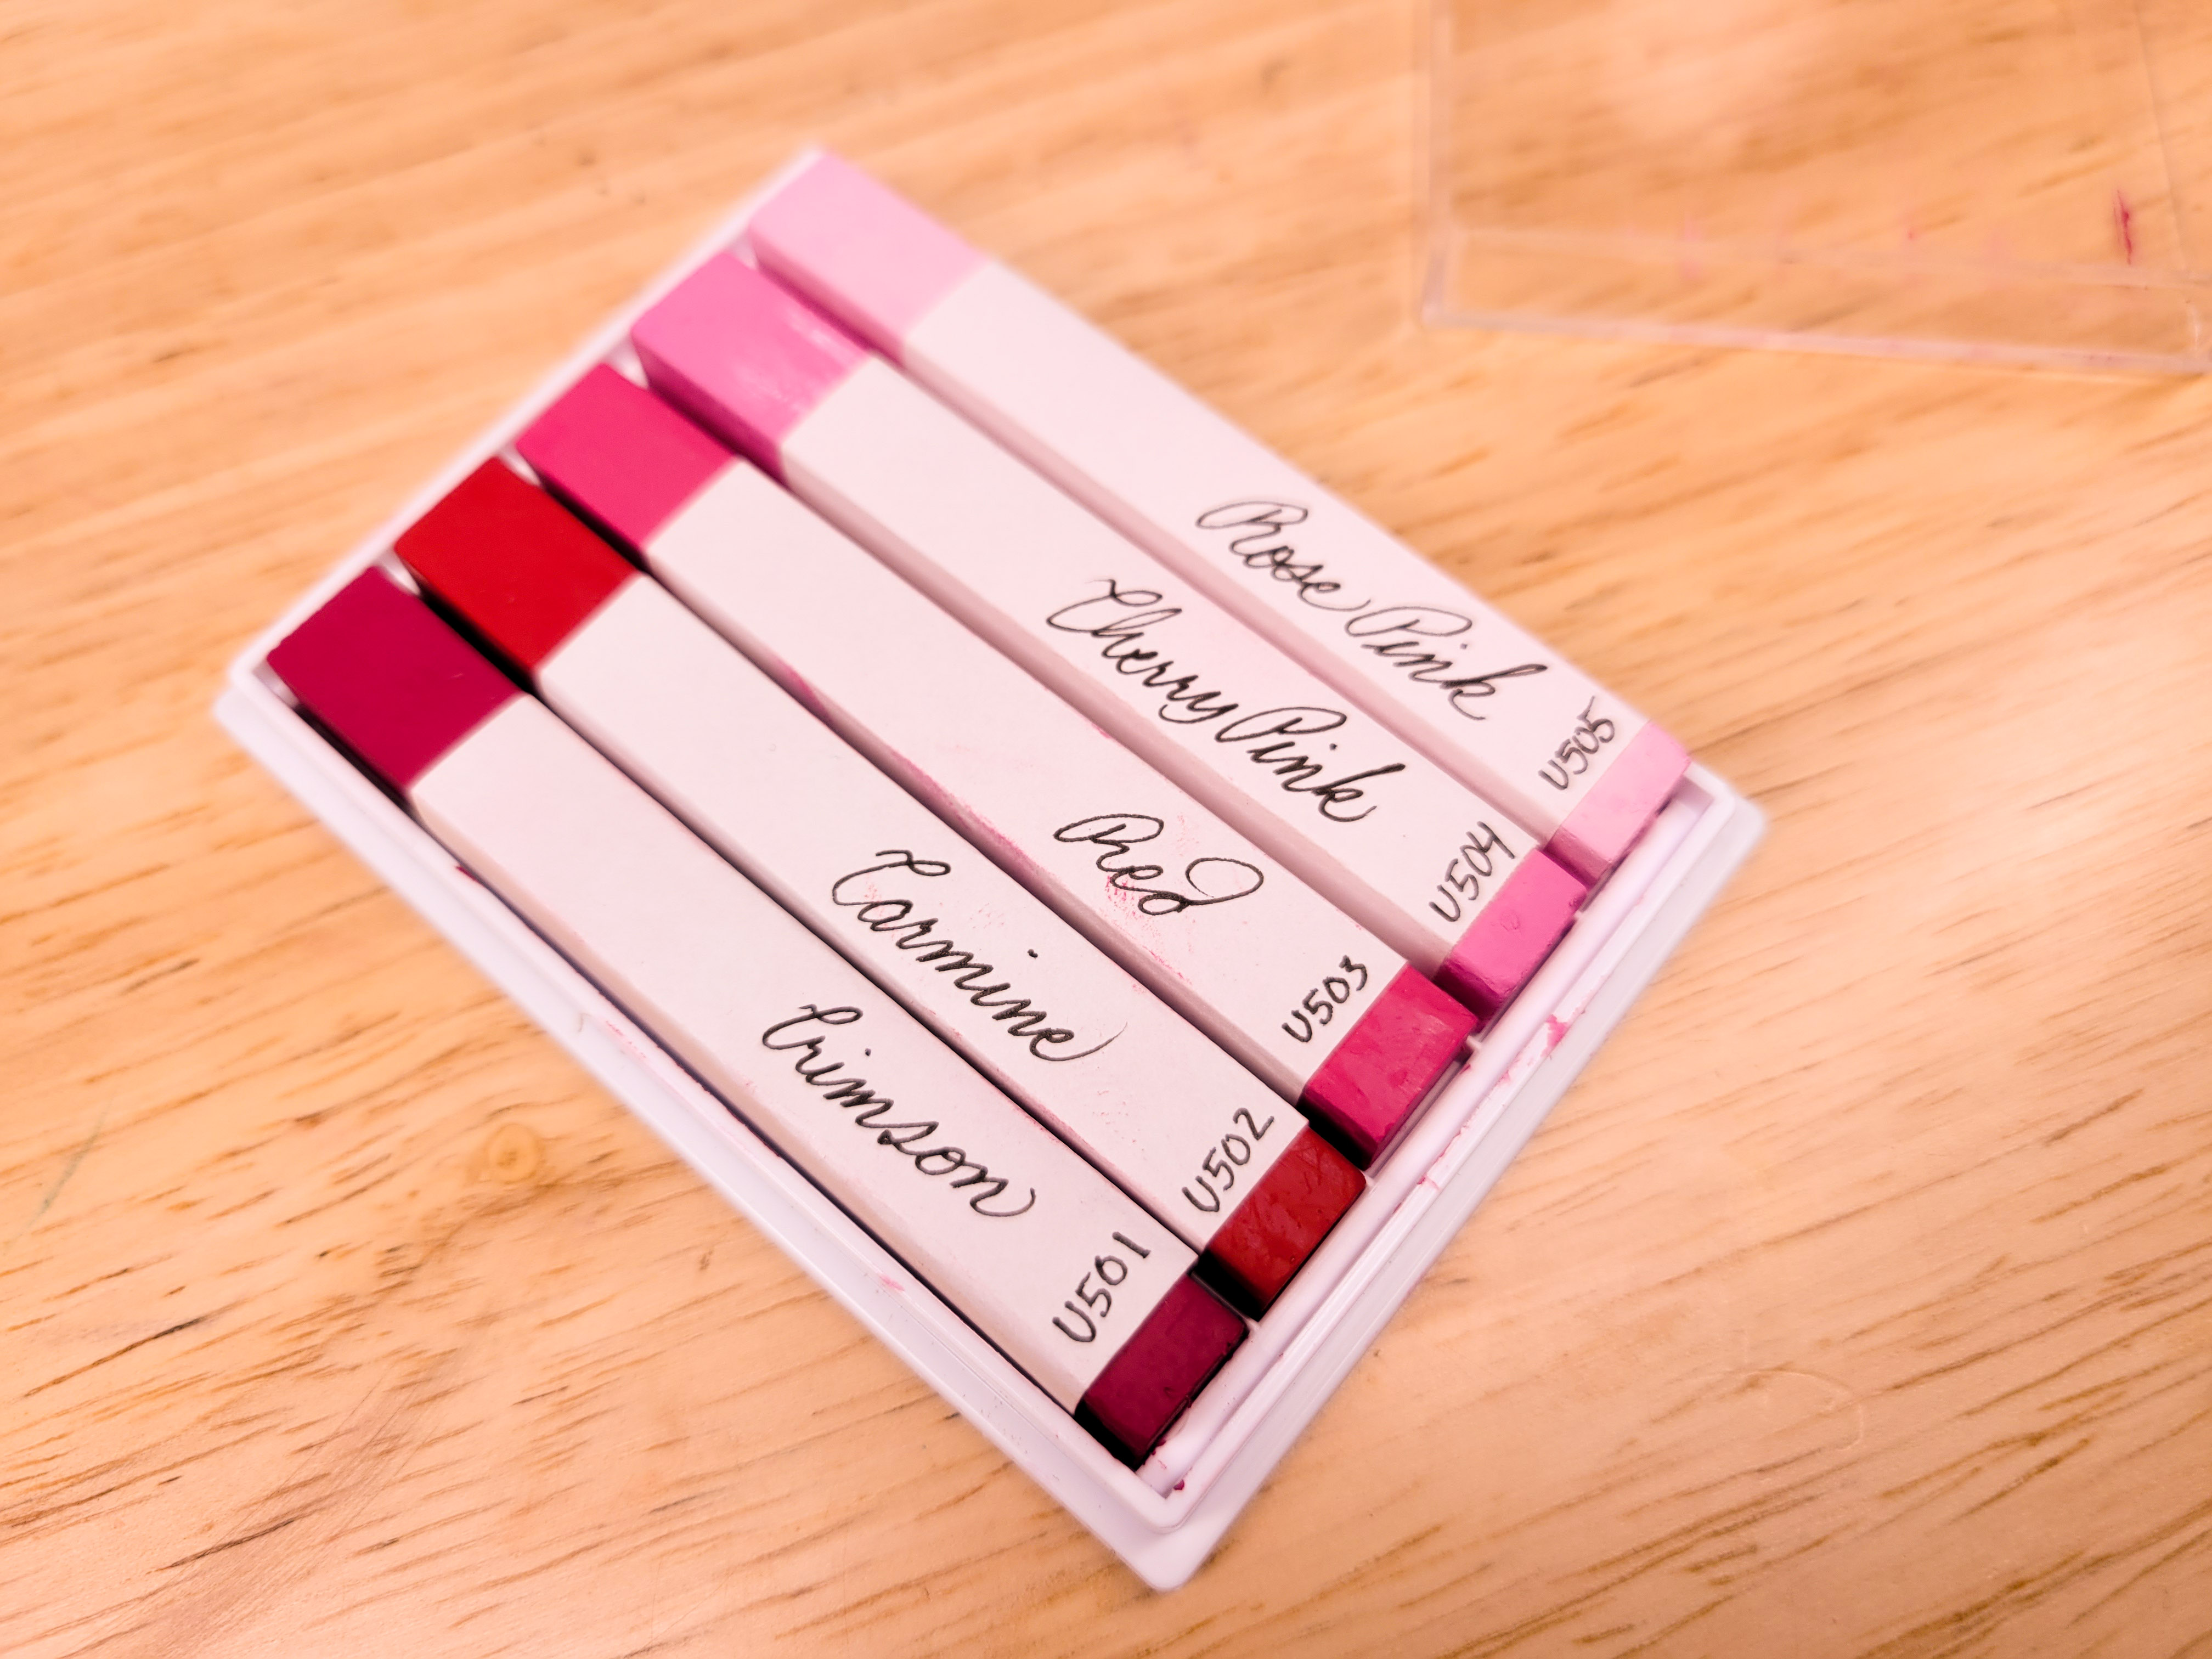
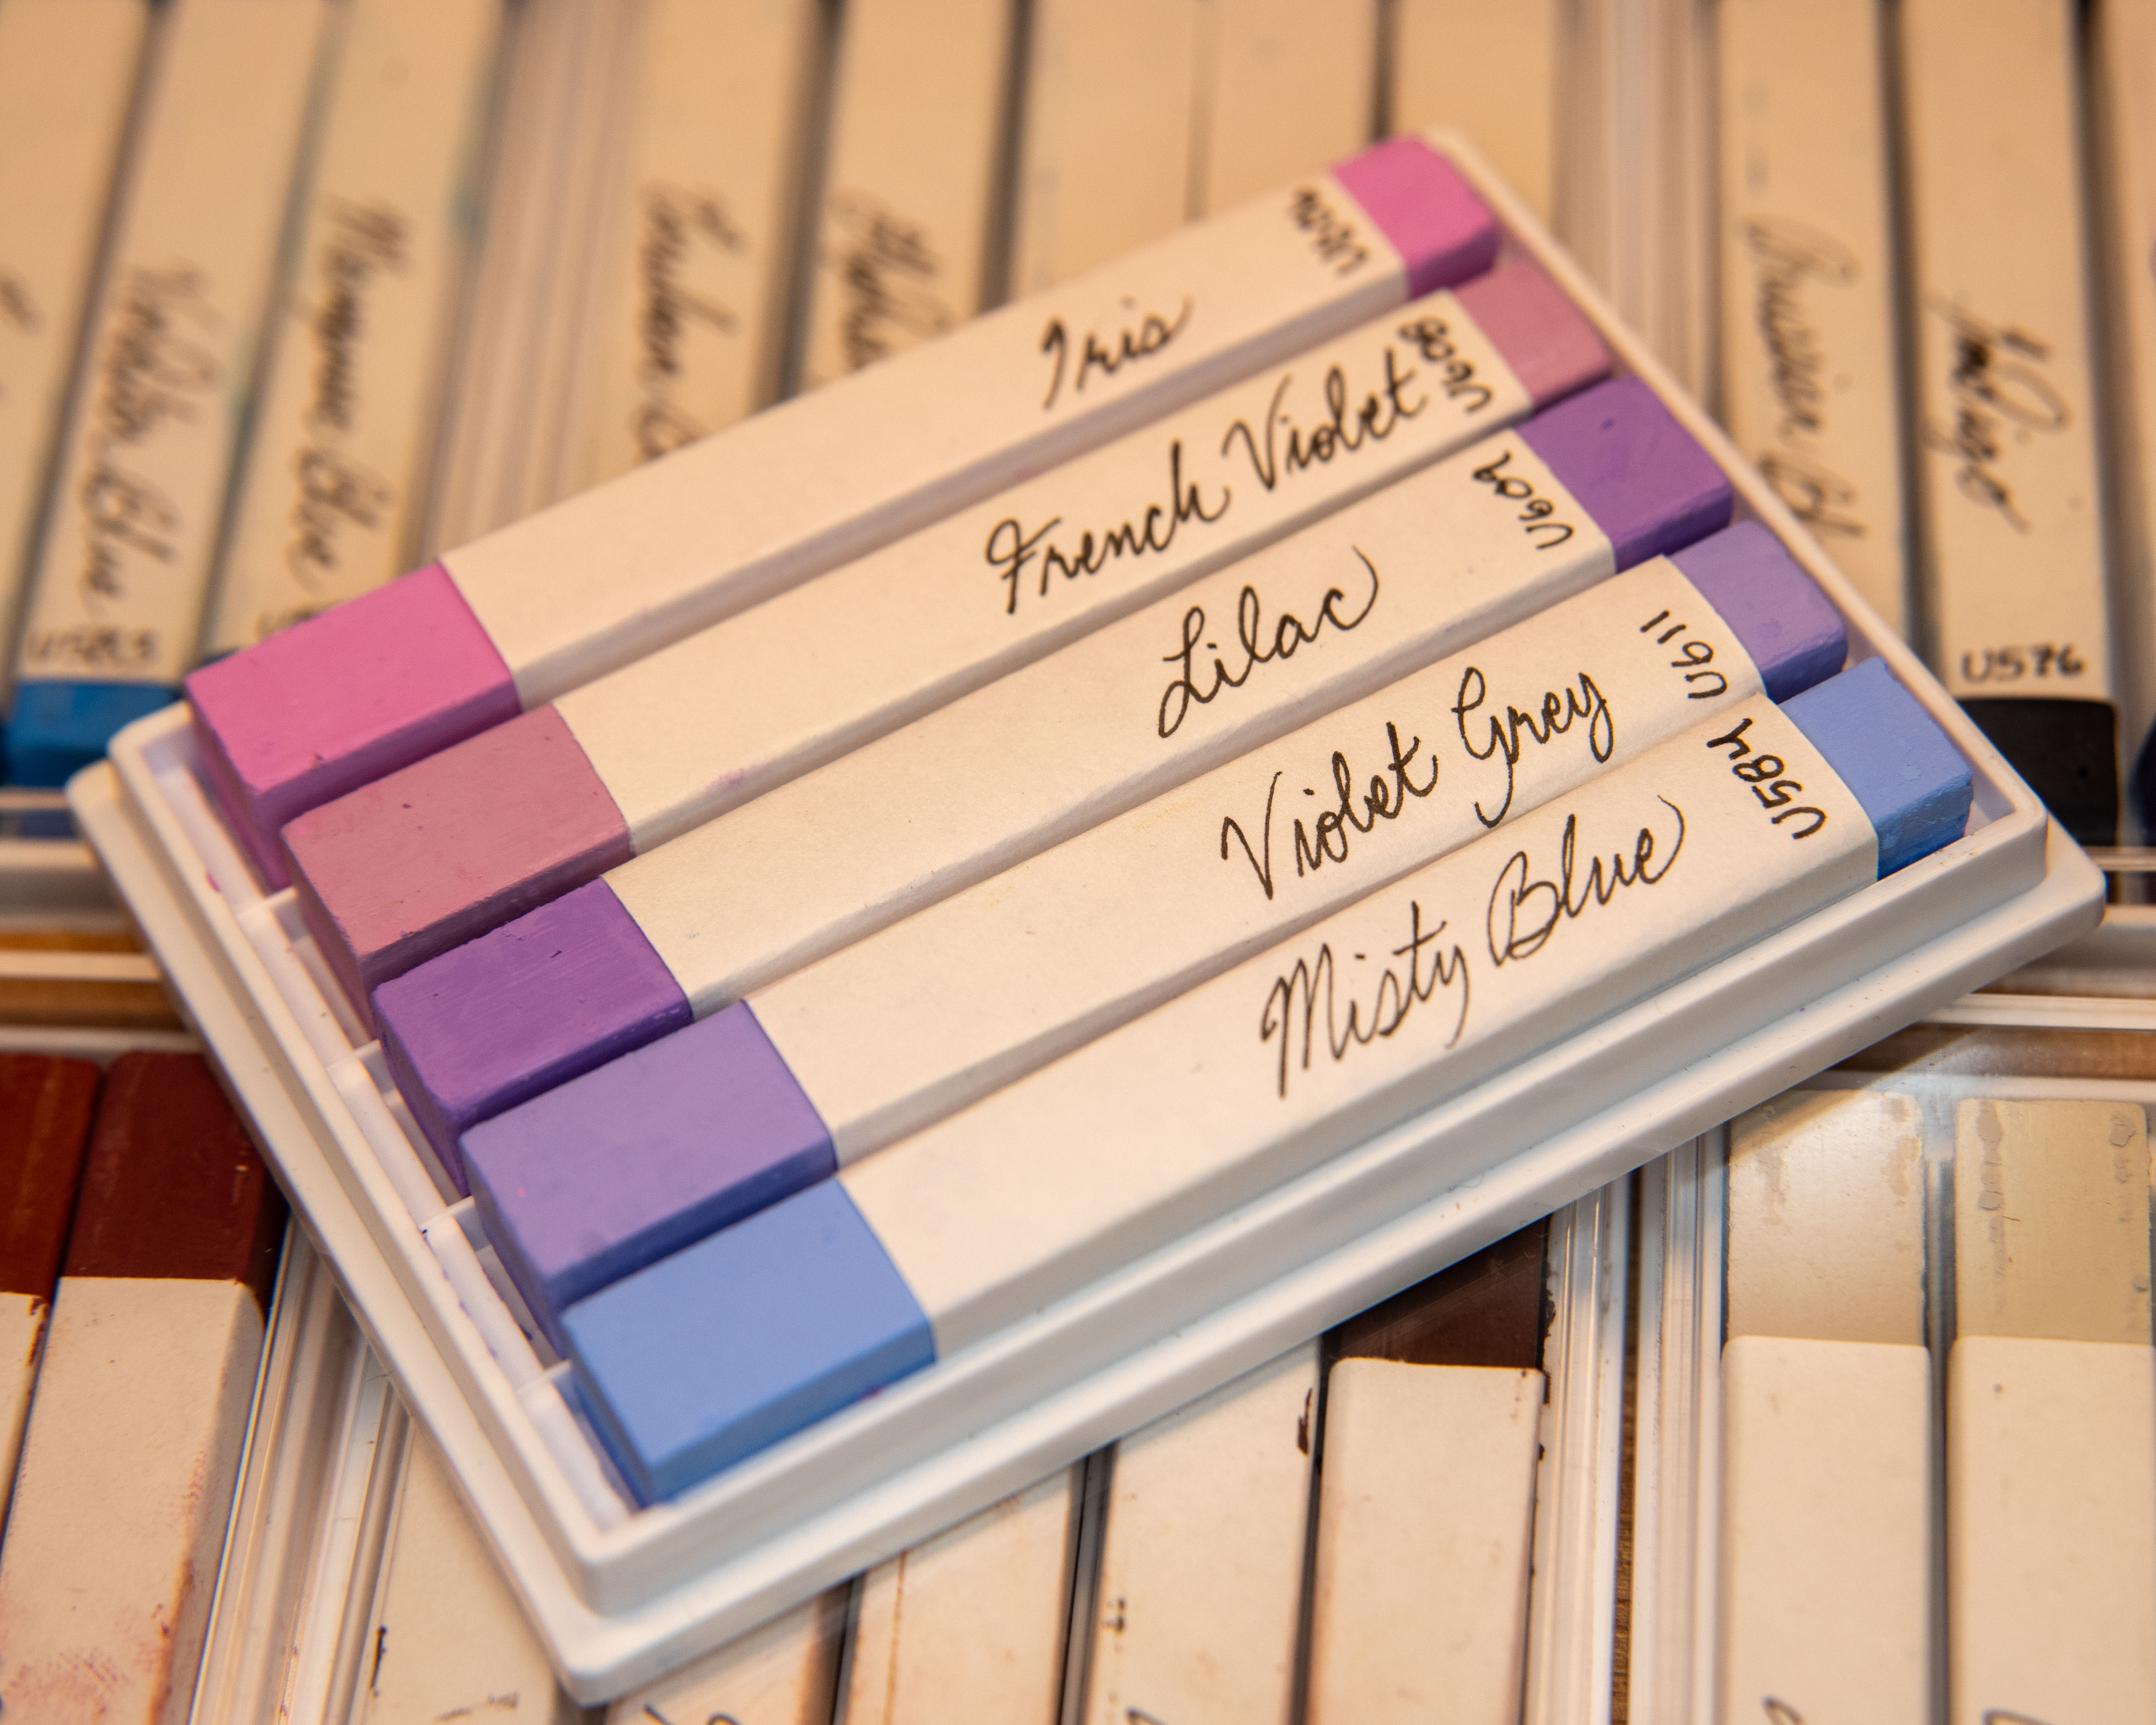
I chose to label my pastels with the English language colour name and the “U” number, so that they can be more easily replaced when I run out (I’m going to need a new Sepia any second now, good thing I know which one it is). There are five panels on a folded sheet, and any of them can be written on, I chose to go with the middle.
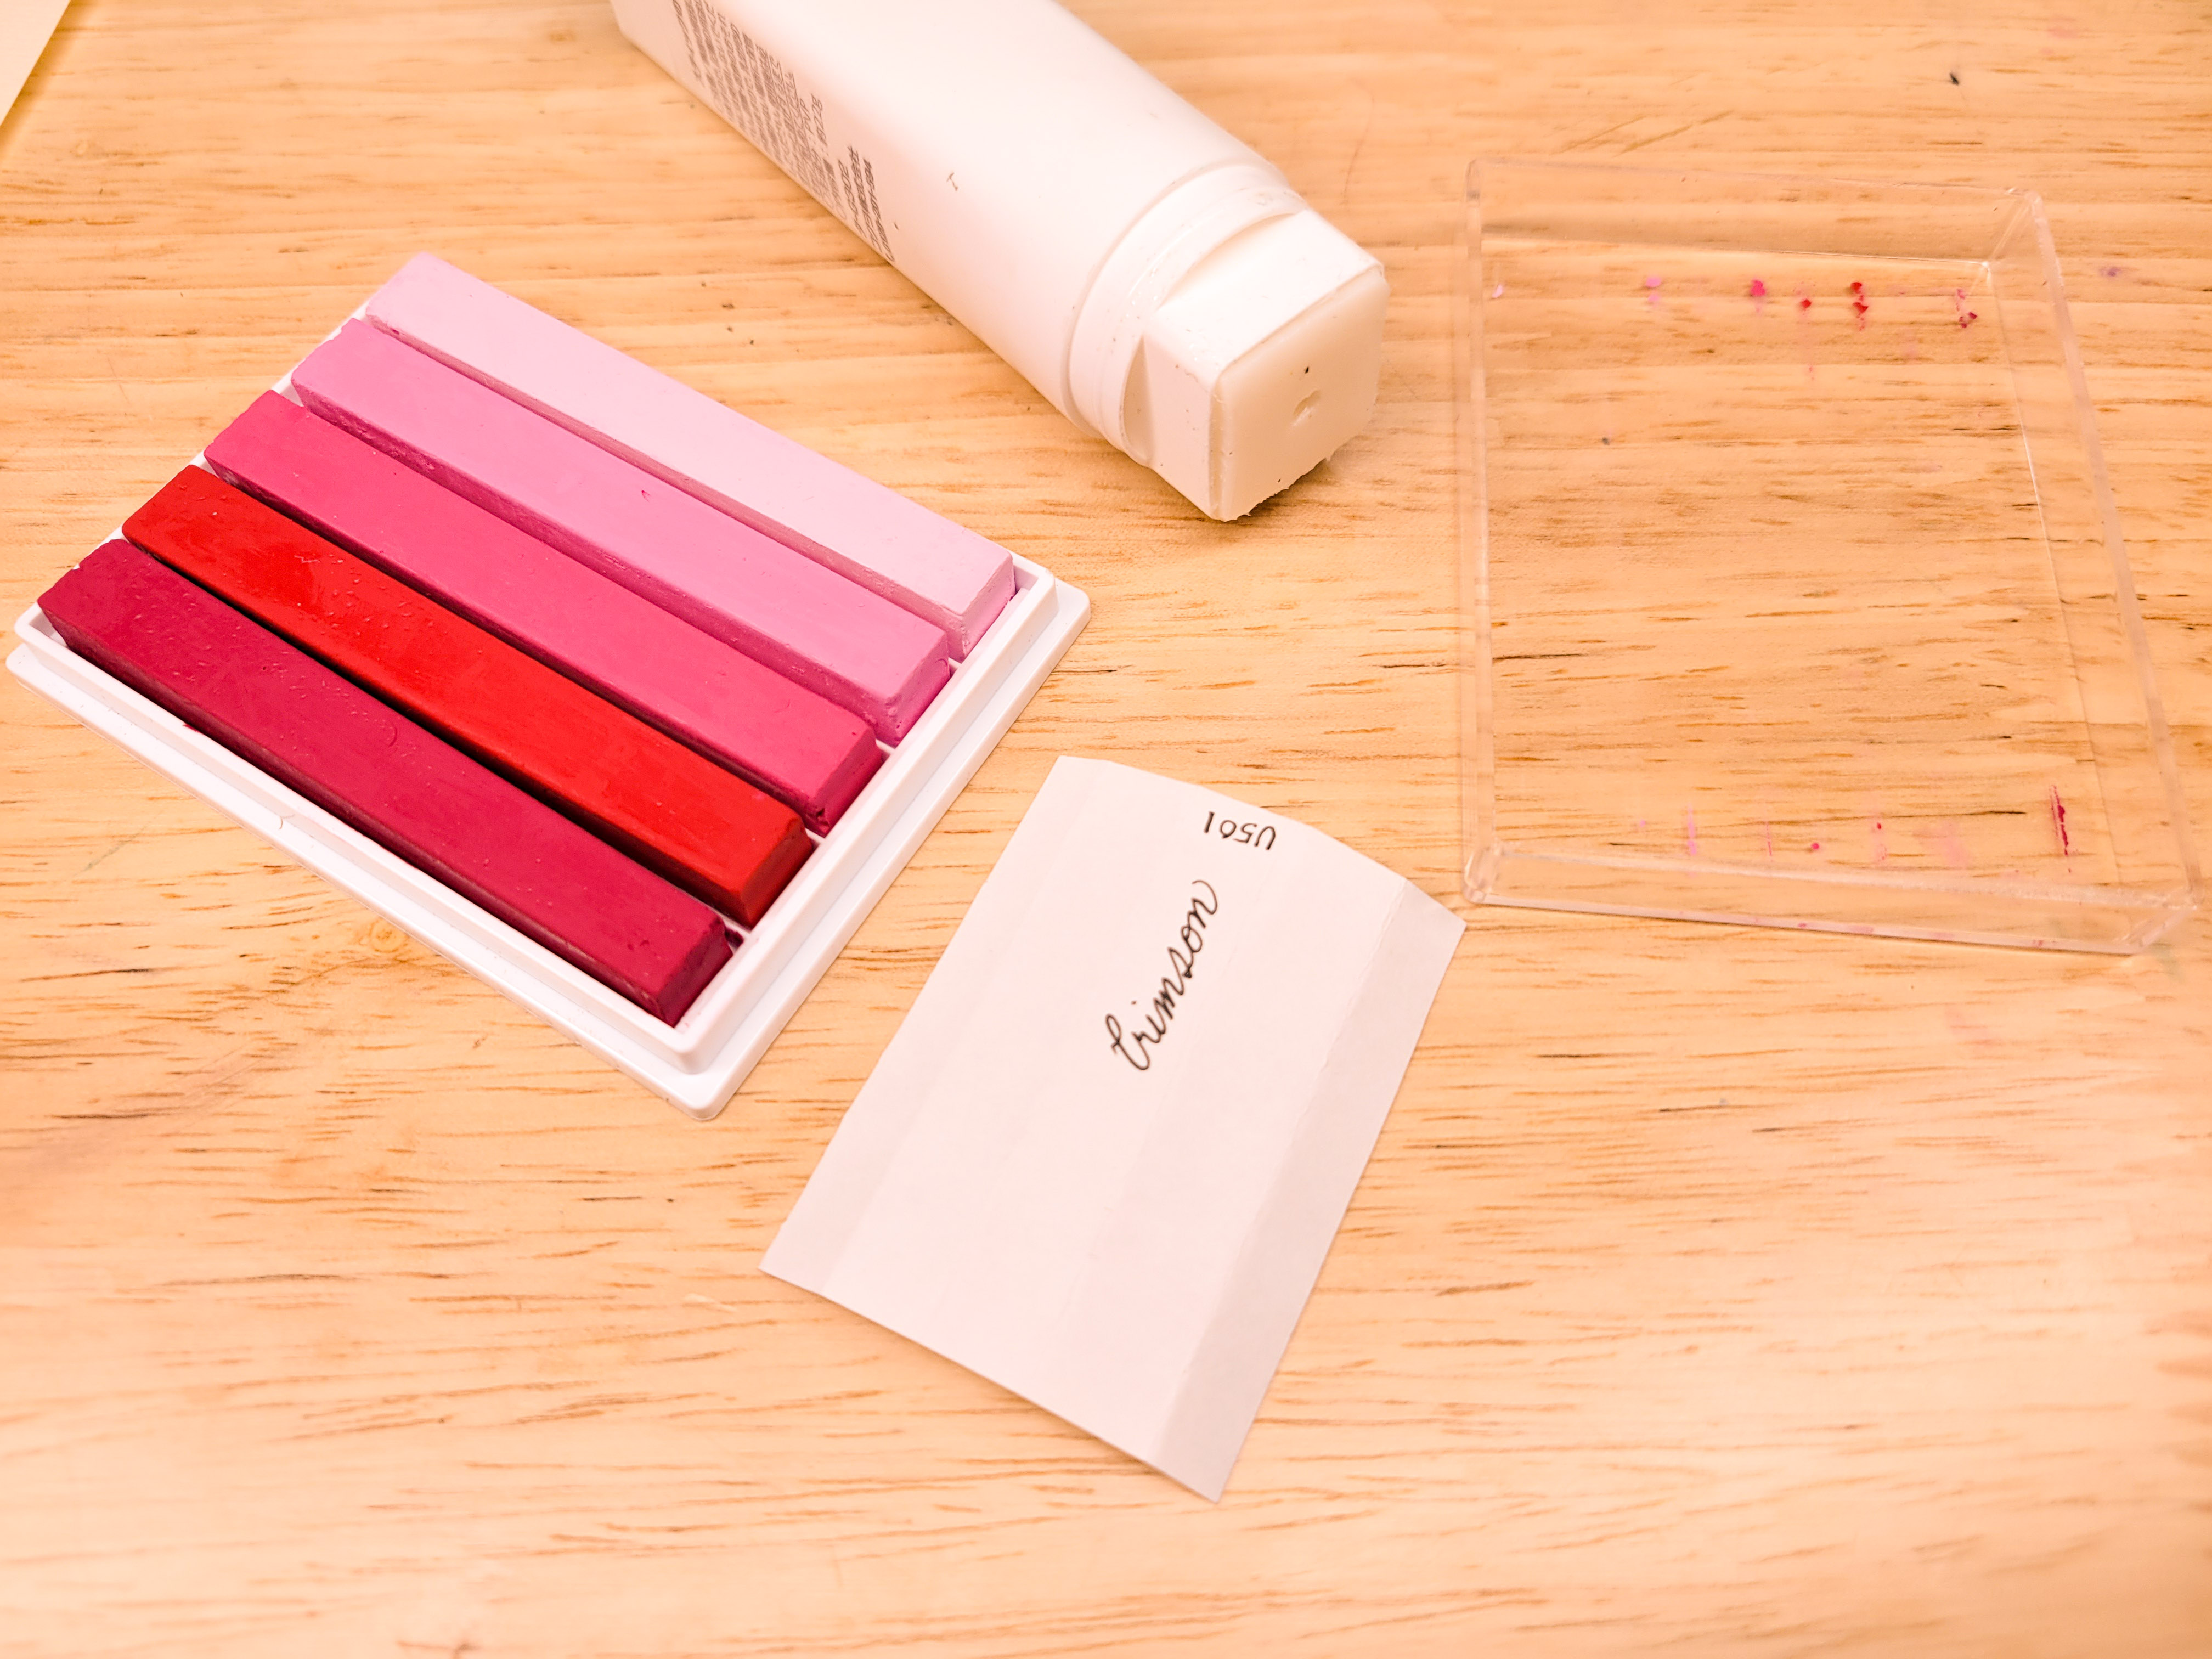
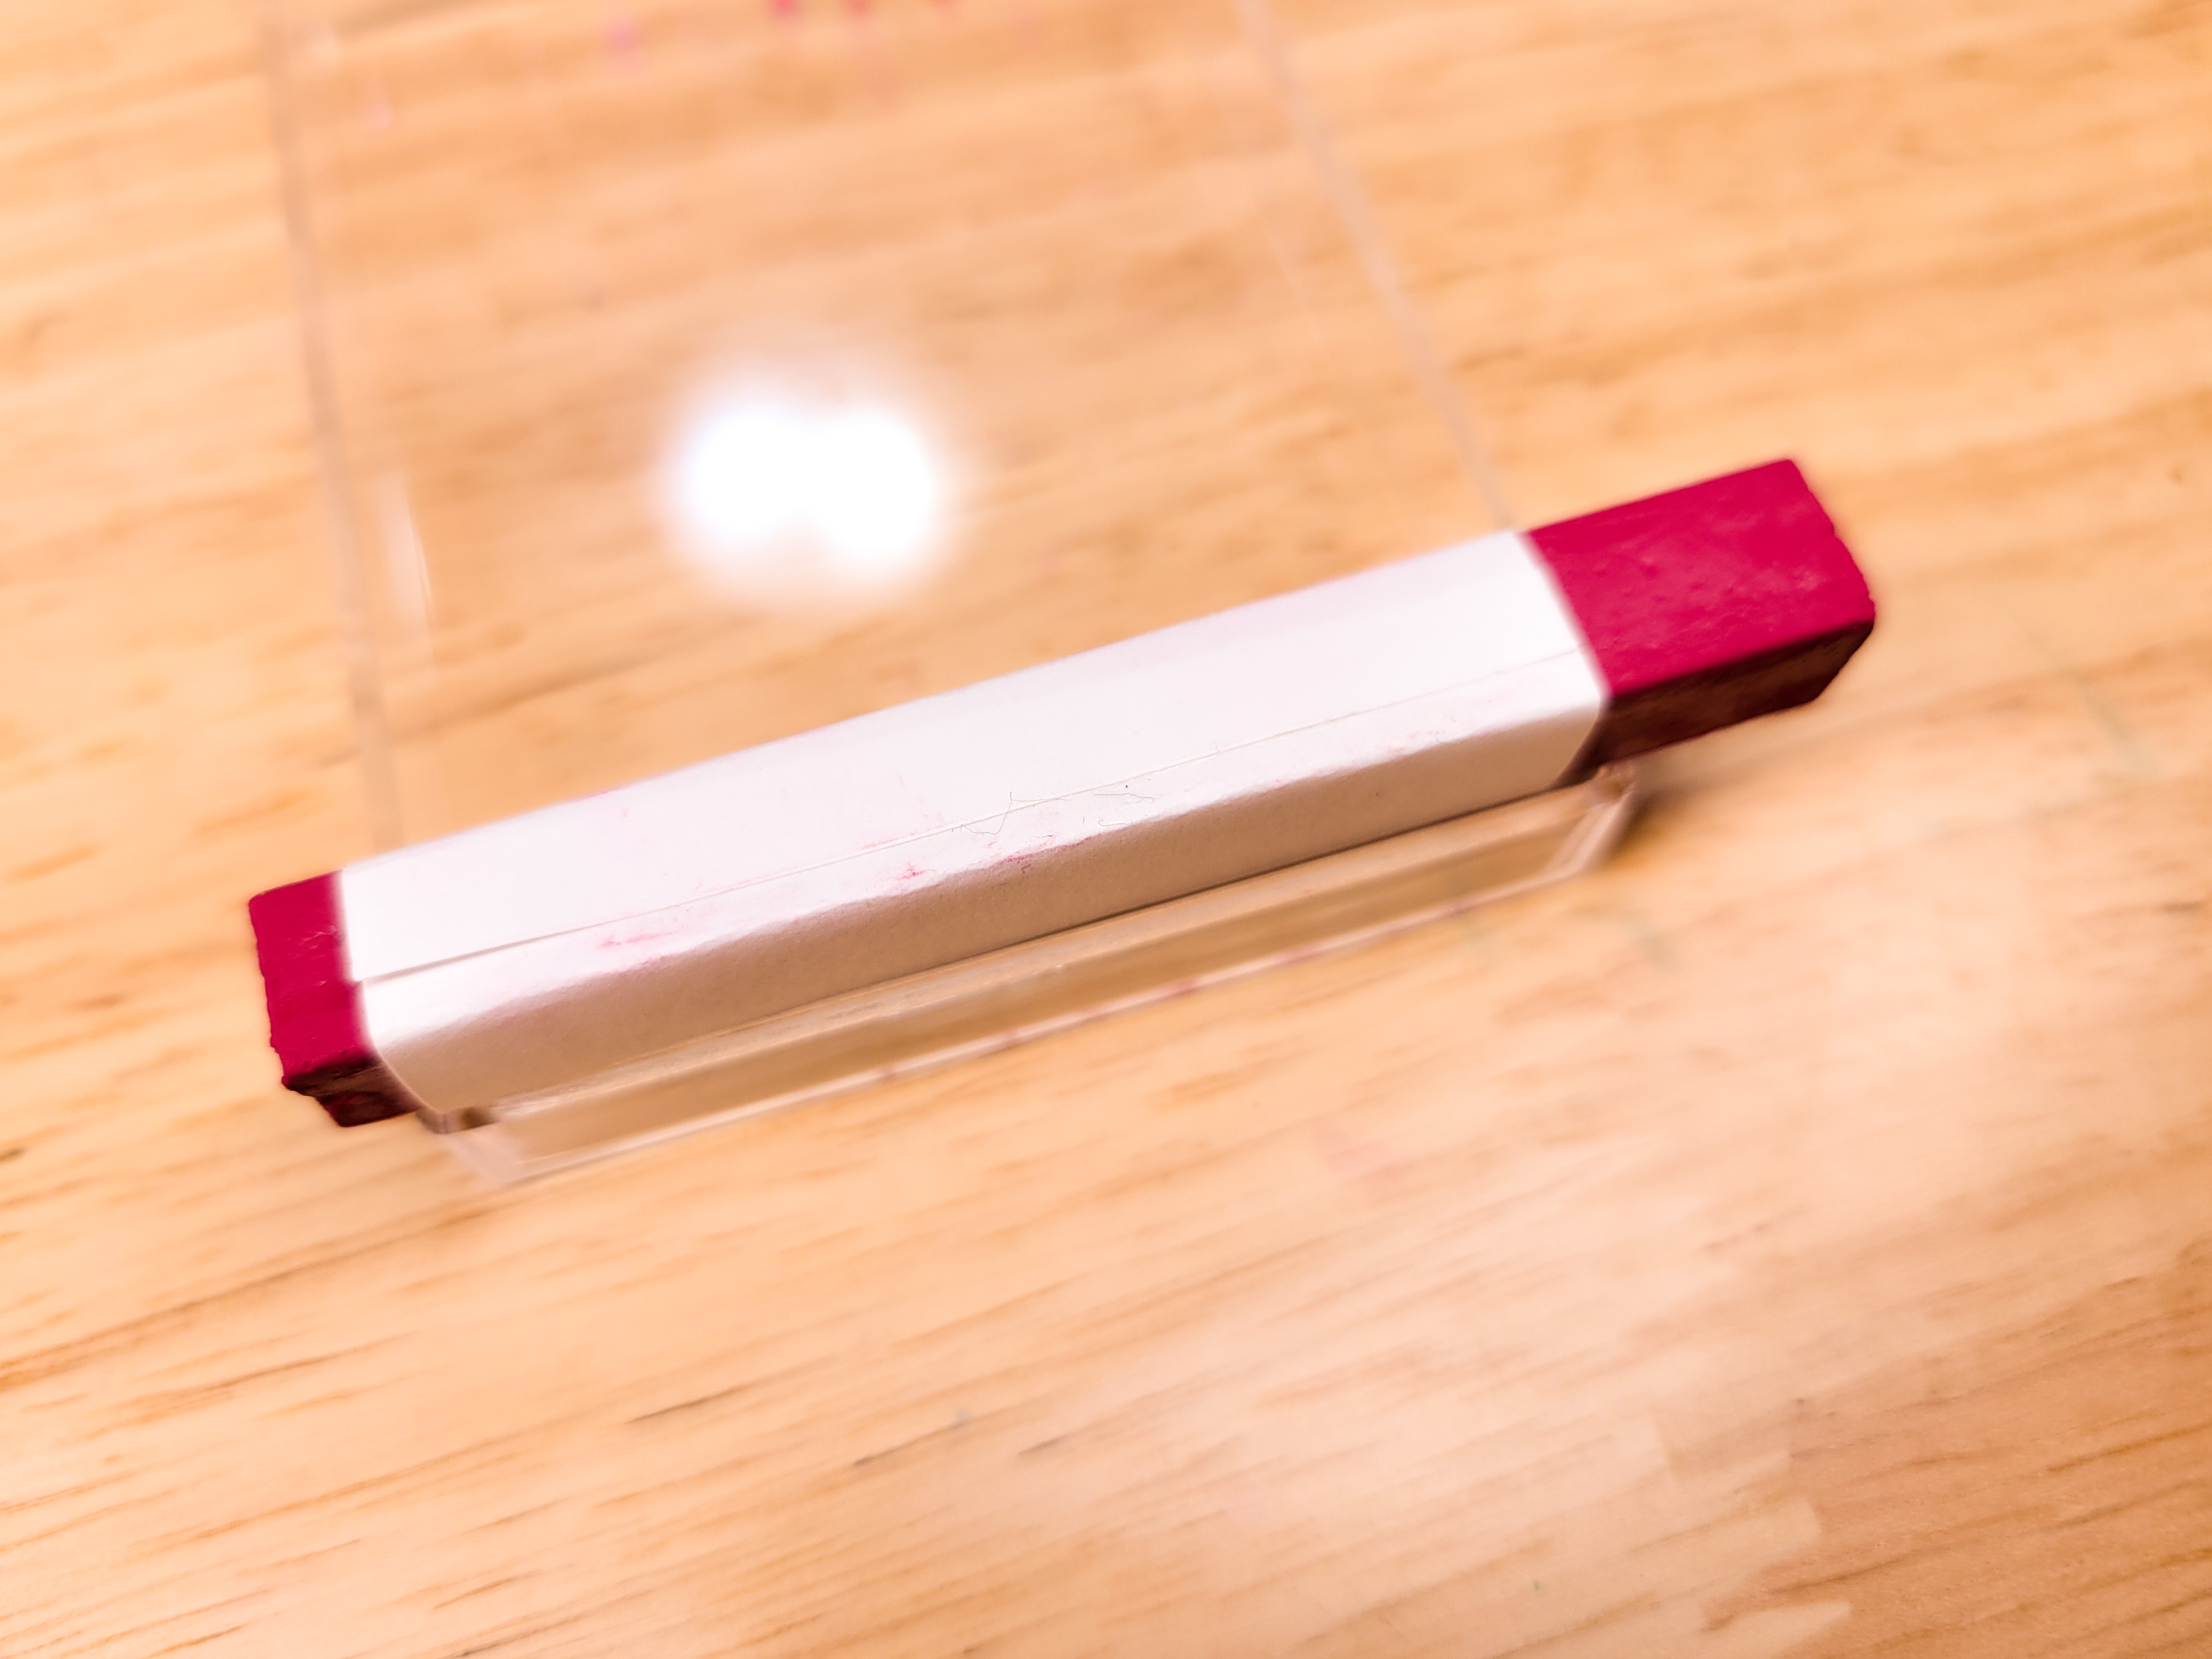
Then a little bit of glue on one edge, and a very satisfying application. I used Kokuyo Gloo and have used the pastels quite a bit to no issues at all. When they get low, you can simply rip a bit of the paper off like any other oil pastel.
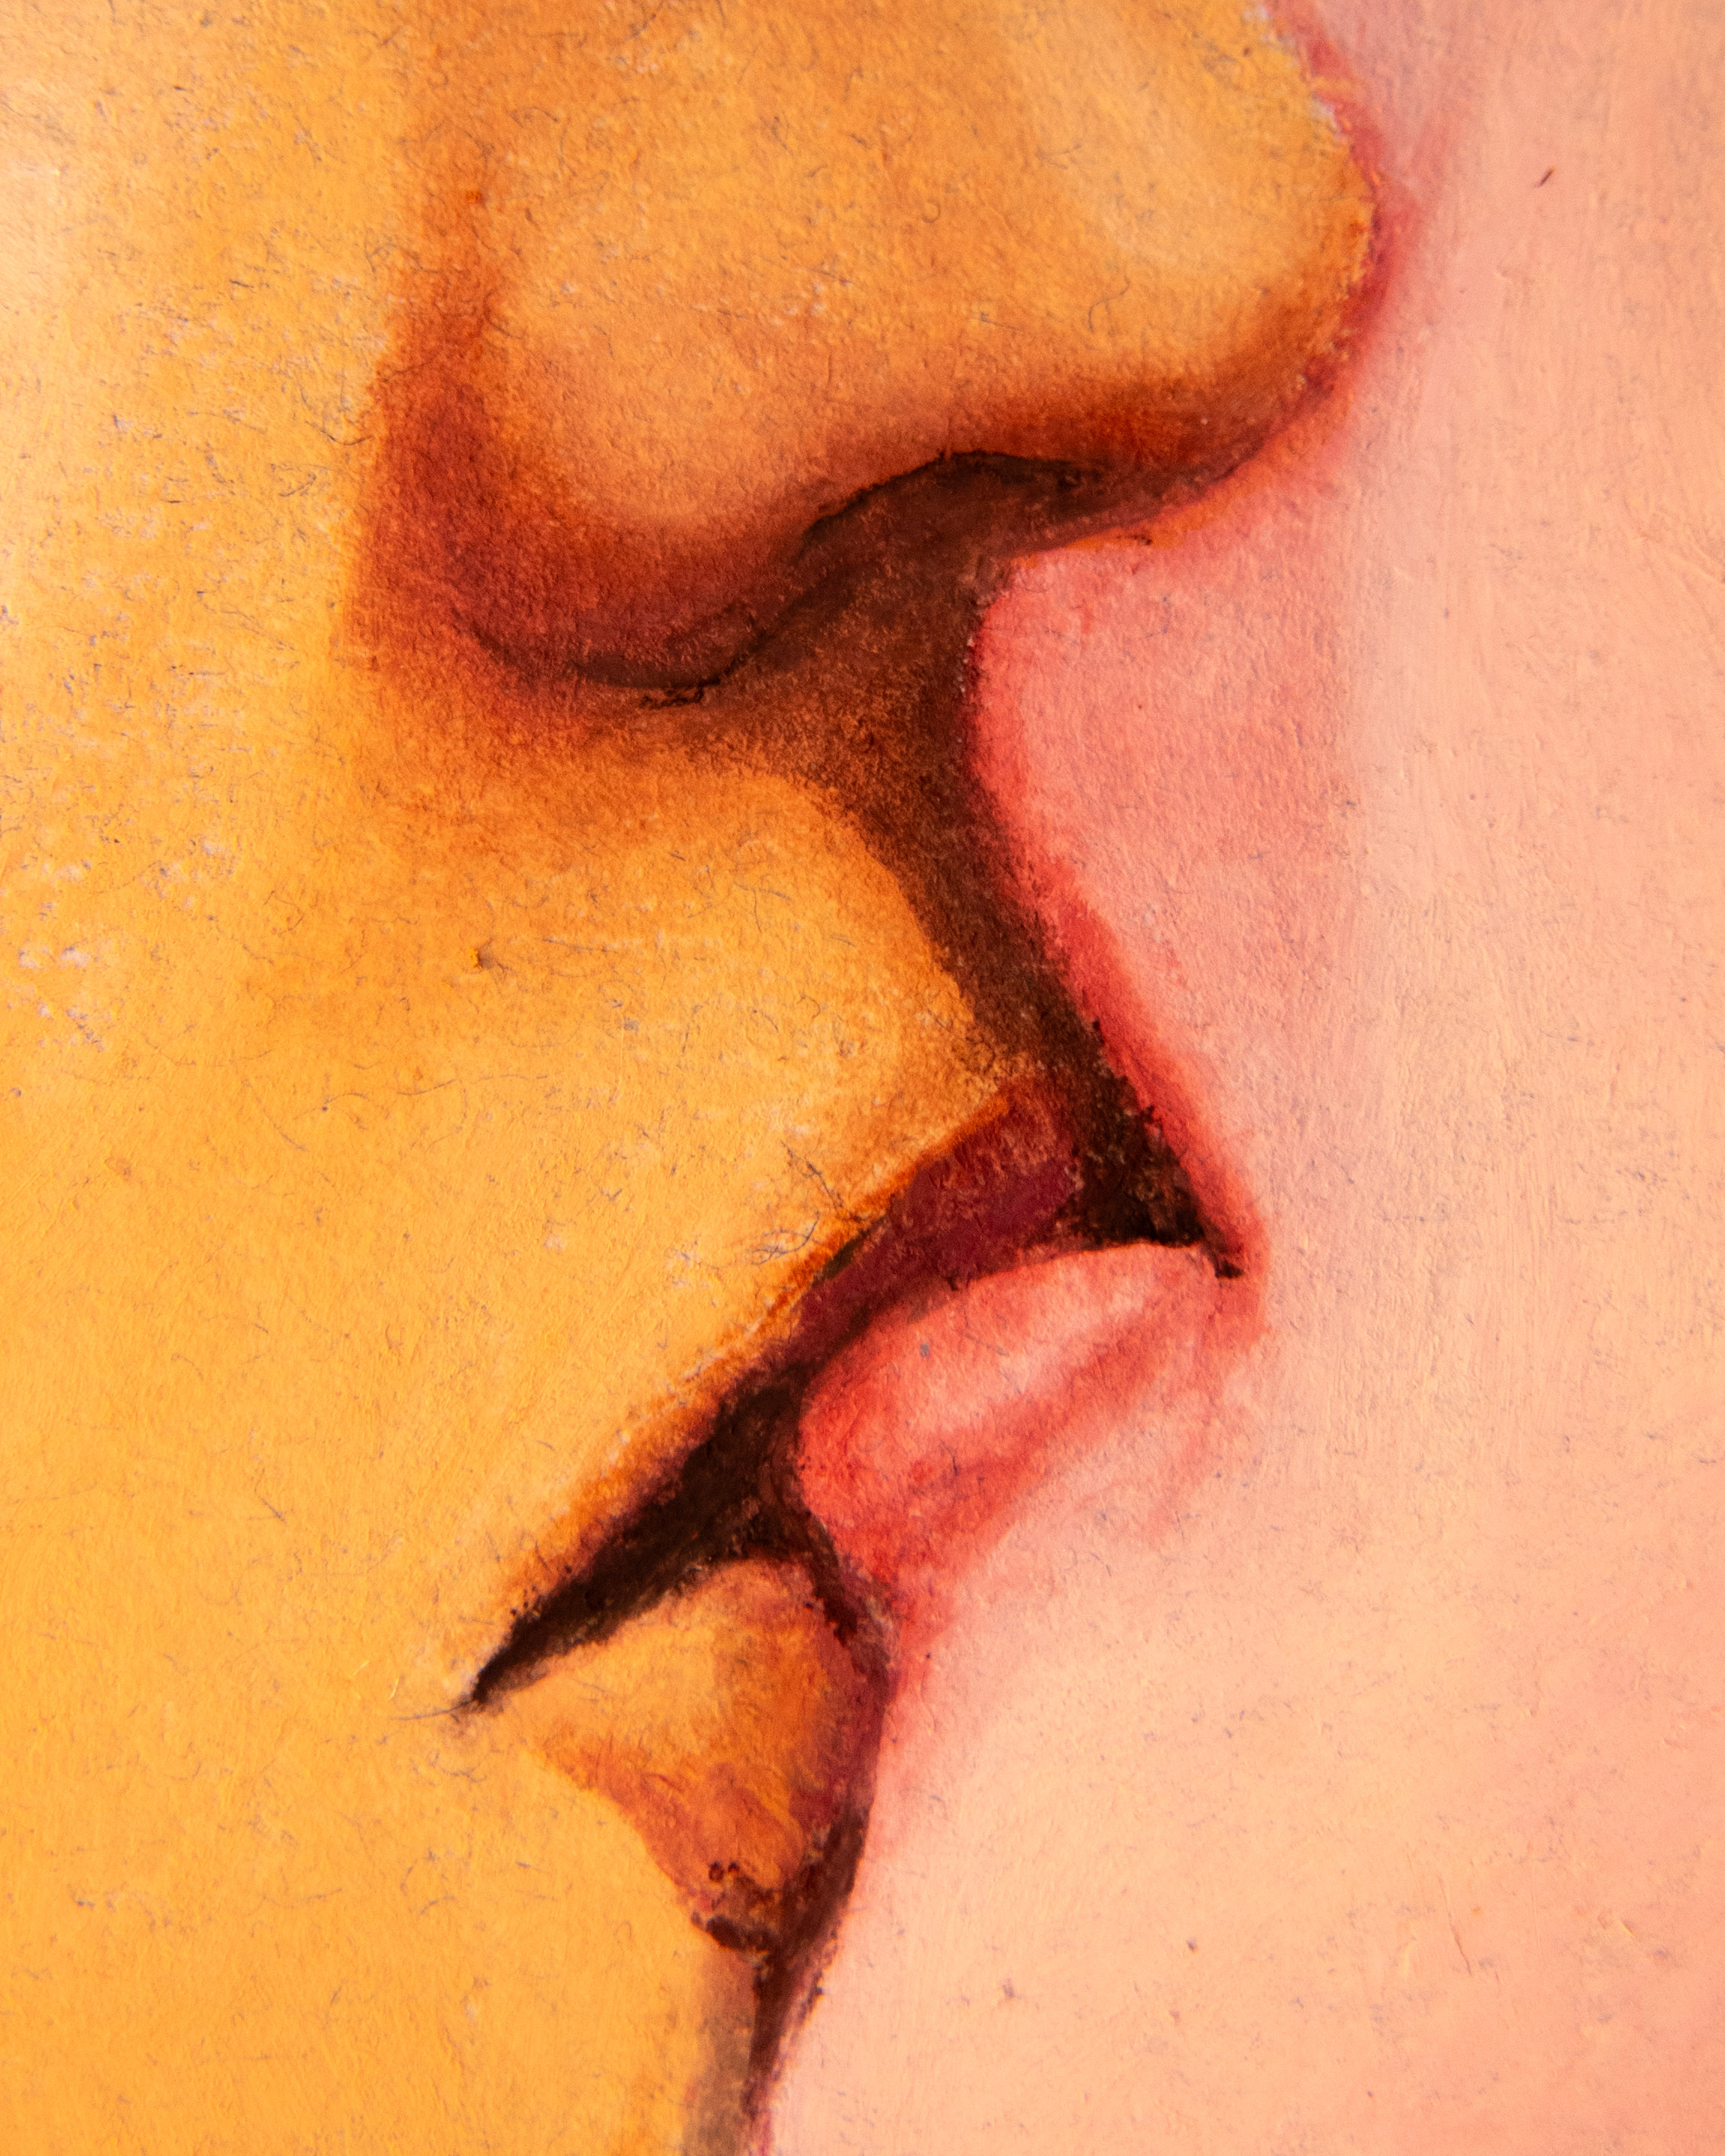
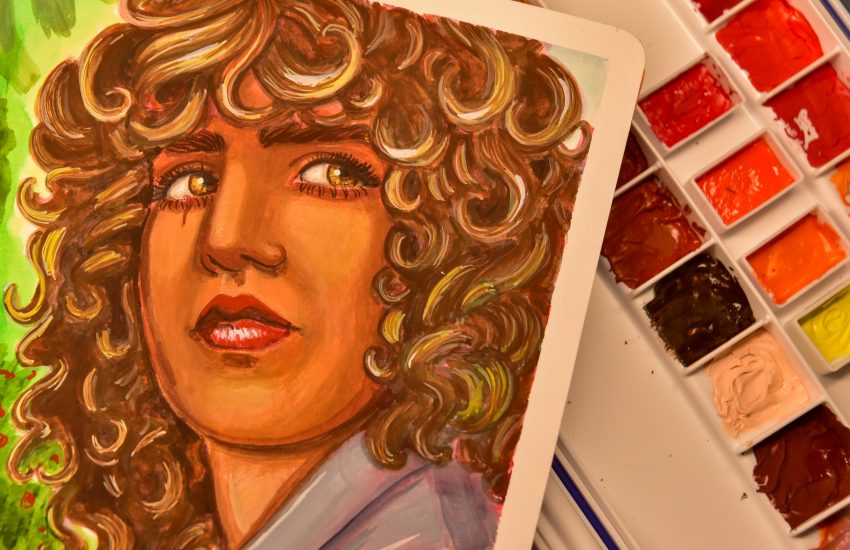
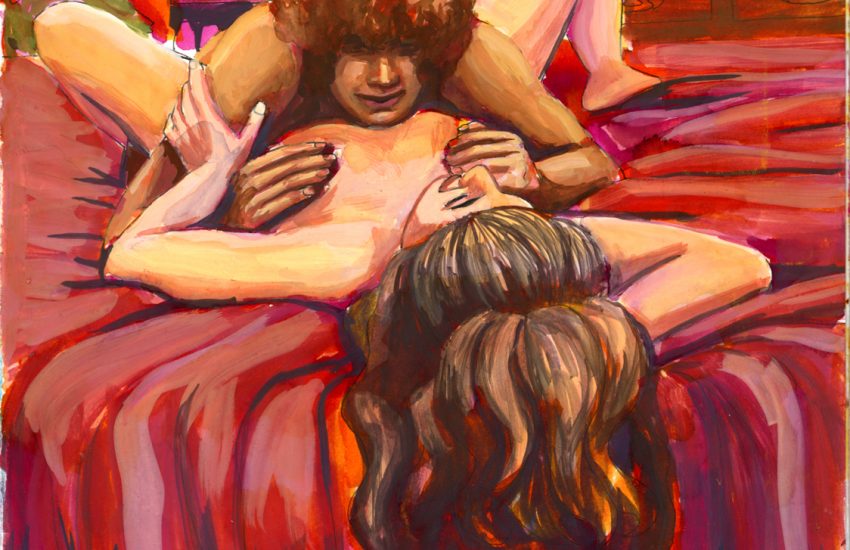
My artwork is to come soon. With these pastels, among other things. Here’s some detail of the first piece I did with them:


That’s super neat!! The only downside is that ripping them wouldn’t look so even anymore 🙁
Ah, but then they’ll be reminders of all the lovely artwork they created! So they’ll be even prettier, I think. 🙂 Thank you!